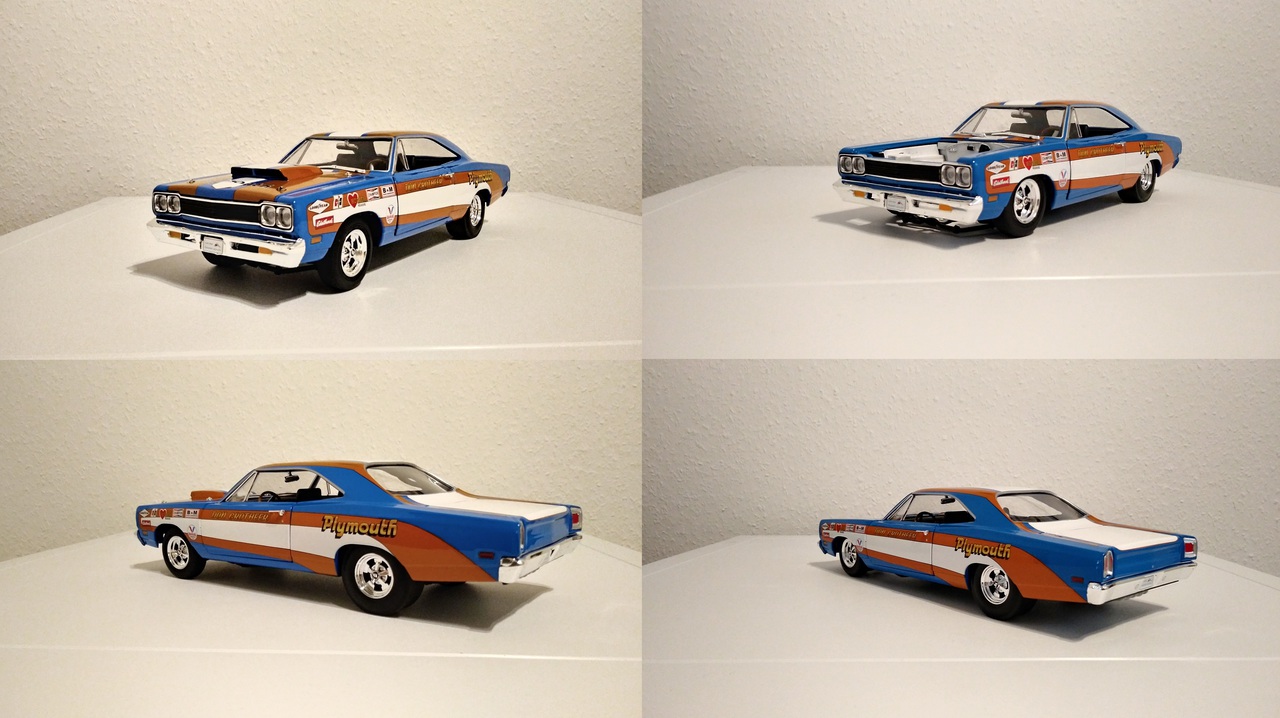
Project: 1969 Plymouth Roadrunner Pro Charged

Modifiers corner! Post your latest creations, your "how to" tips and tricks. Custom model and parts development too.
duffy-duck21
Posts: 57
Joined: Tue Jul 03, 2018 9:21 am
Location: Germany

Re: Project: 1969 Plymouth Roadrunner Pro Charged

Post by duffy-duck21 » Sun Jul 22, 2018 4:04 pm

The engine has largely finished today.
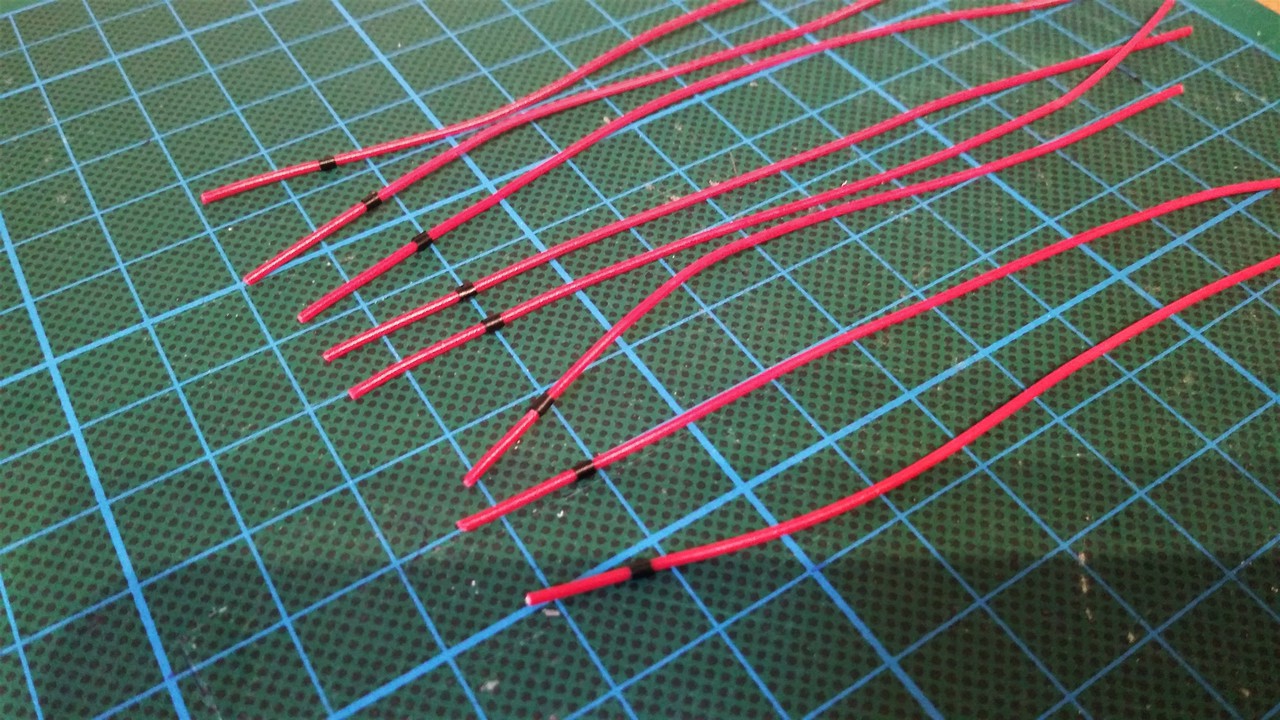
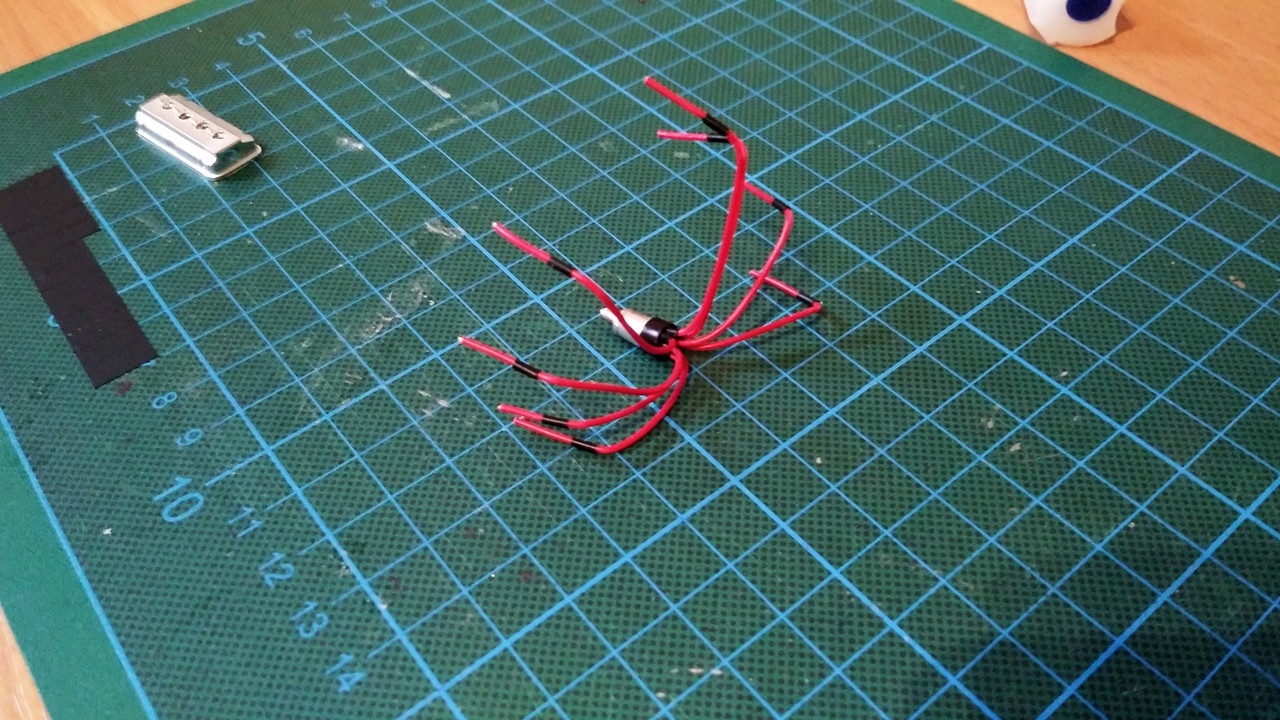
I have built a new ignition coil including cables.
The ignition plugs are made of insulating tape (so it does not come loose: apply a small amount of superglue on the ends).

Image
Image
Image

duffy-duck21
Posts: 57
Joined: Tue Jul 03, 2018 9:21 am
Location: Germany

Re: Project: 1969 Plymouth Roadrunner Pro Charged

Post by duffy-duck21 » Sun Jul 22, 2018 4:05 pm

The valve covers are from the original engine.
Above the valve covers, fuel rails made of carbon were mounted.
The matching A / N fittings will be installed a little later.

Image
Image

User avatar
StratosWRC
.
.
Posts: 7402
Joined: Tue Aug 27, 2013 4:56 pm
Location: Canada

Re: Project: 1969 Plymouth Roadrunner Pro Charged

Post by StratosWRC » Tue Jul 24, 2018 10:54 am

Still watching

duffy-duck21
Posts: 57
Joined: Tue Jul 03, 2018 9:21 am
Location: Germany

Re: Project: 1969 Plymouth Roadrunner Pro Charged

Post by duffy-duck21 » Tue Jul 31, 2018 3:08 pm

Here are also small progress again.
The chassis was lowered street-legal (rims are not the final version). It is lowered by 6 mm.
More was not possible because of the front suspension, otherwise they drag over the ground.
The front and rear axles are still bolted to the original mounting points and thus no wild glutinous is necessary.
Here's the comparison before and after:
Image


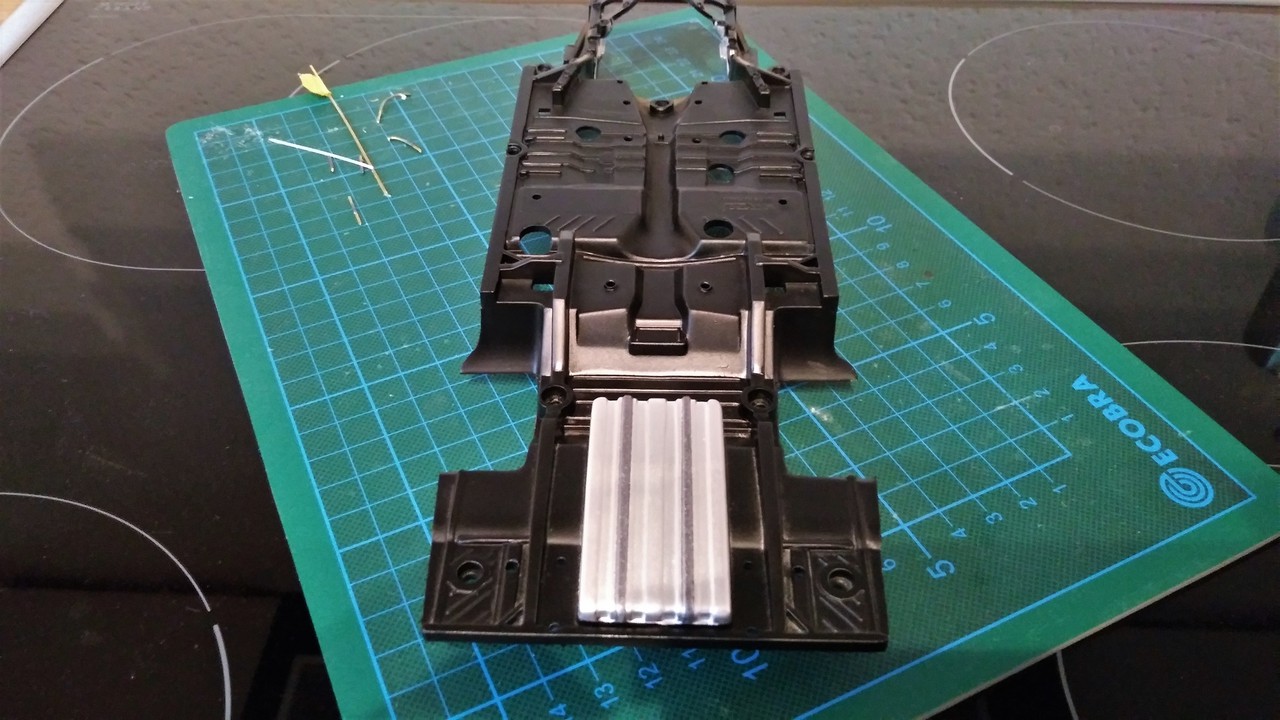
On the underbody, the gray tank was repainted in aluminum and the rest painted in black silk matt (in the original it was glossy):
Image


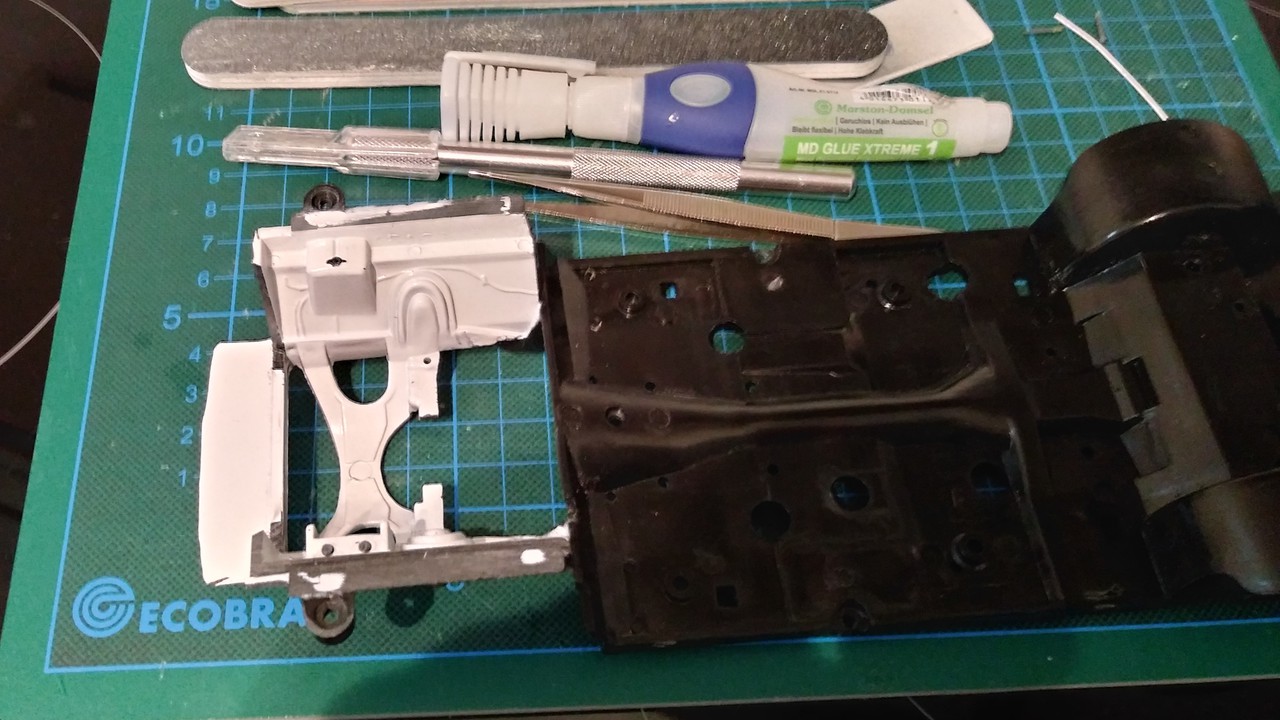
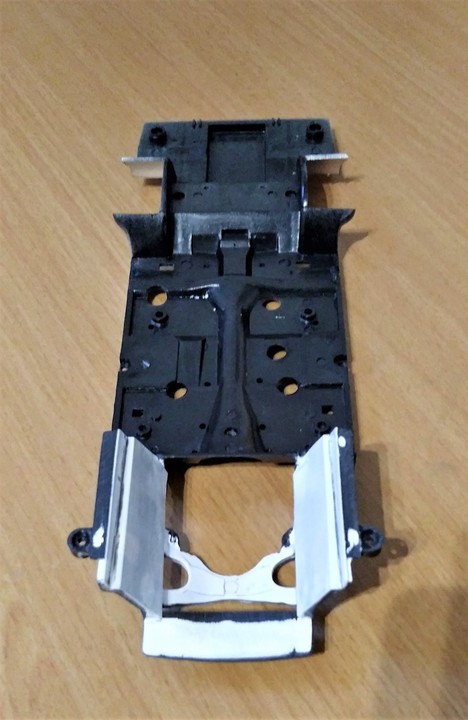
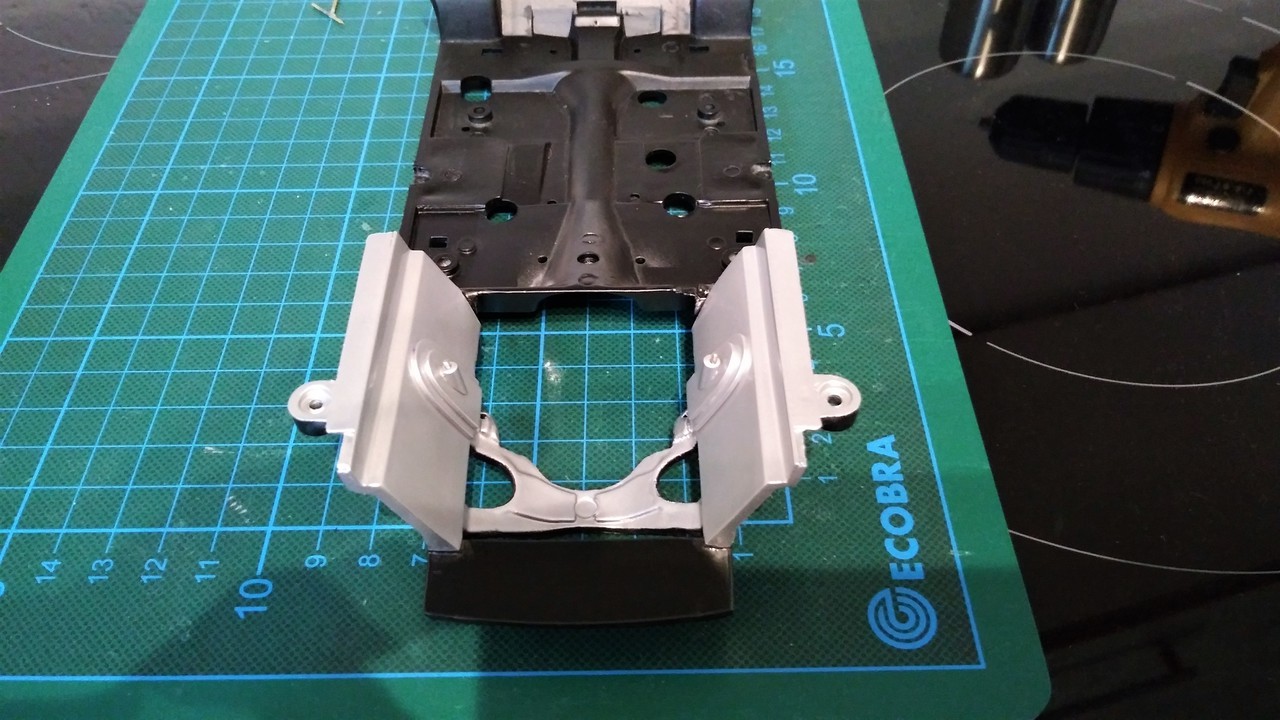
The engine bay has been completely redesigned. The original looked very modest and poorly made.
The sidewalls were cleared of the battery holder and the fountain solution tank. Then everything was sanded smooth and covered with 0.5 mm polystyrene plates.
Finally, the areas of the strut tower were also made from polystyrene. In the middle there was an M1.2 thread:
Image
Image
Image

User avatar
[KRAFTIG]
.
.
Posts: 32718
Joined: Sun Jun 17, 2012 9:08 am
Location: Canada
Contact:

Re: Project: 1969 Plymouth Roadrunner Pro Charged

Post by [KRAFTIG] » Tue Jul 31, 2018 3:18 pm

Impressive. The AFTER is so much nicer! :clap:

duffy-duck21
Posts: 57
Joined: Tue Jul 03, 2018 9:21 am
Location: Germany

Re: Project: 1969 Plymouth Roadrunner Pro Charged

Post by duffy-duck21 » Tue Aug 14, 2018 9:41 am

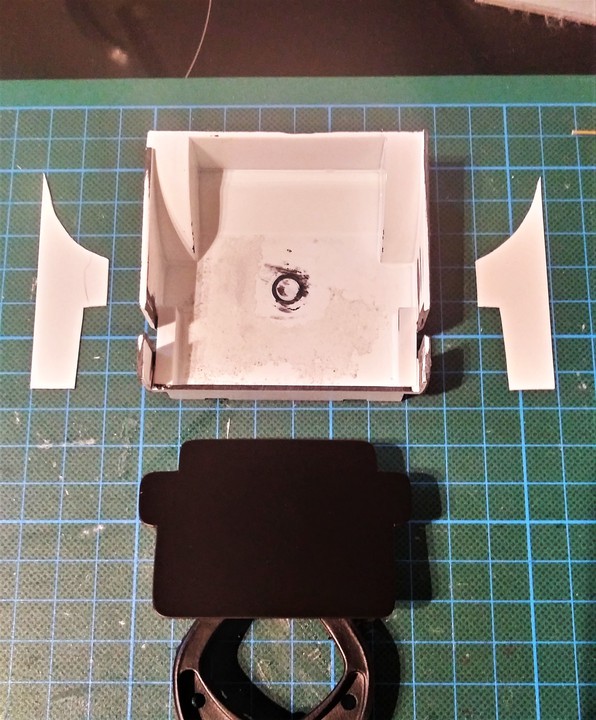
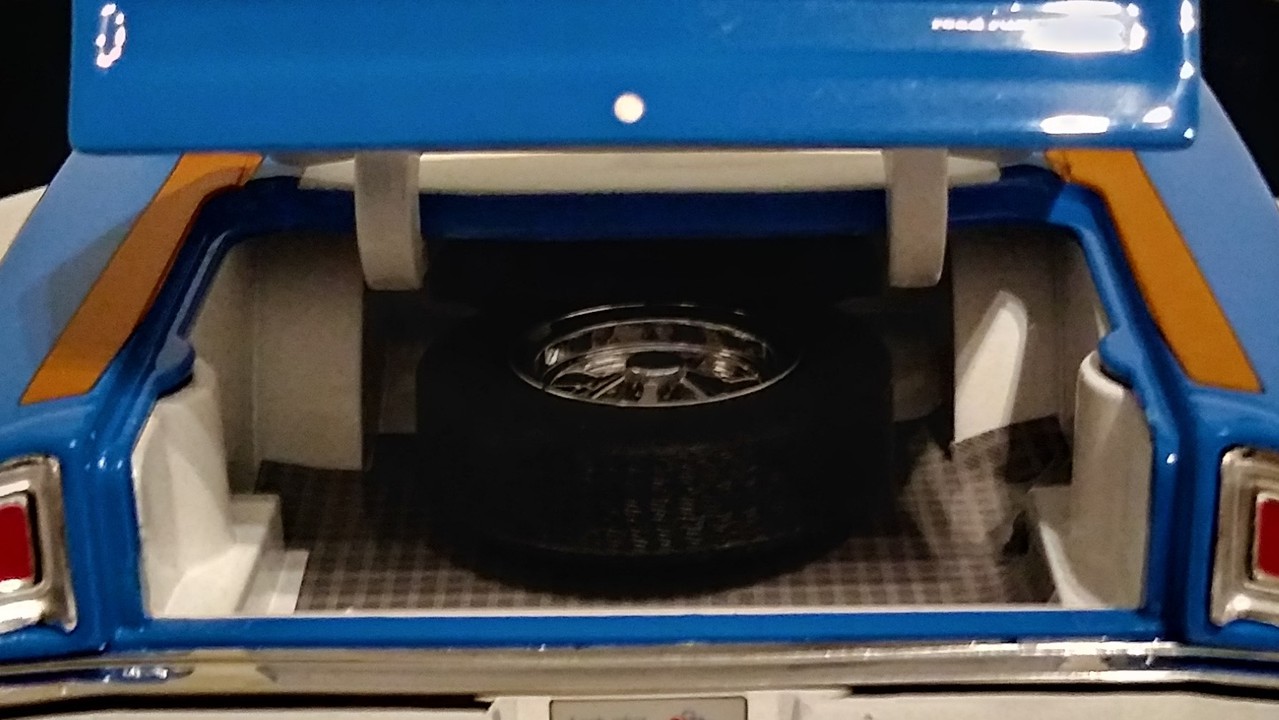
I was busy again. The trunk was made. First, a picture of the original:
Image


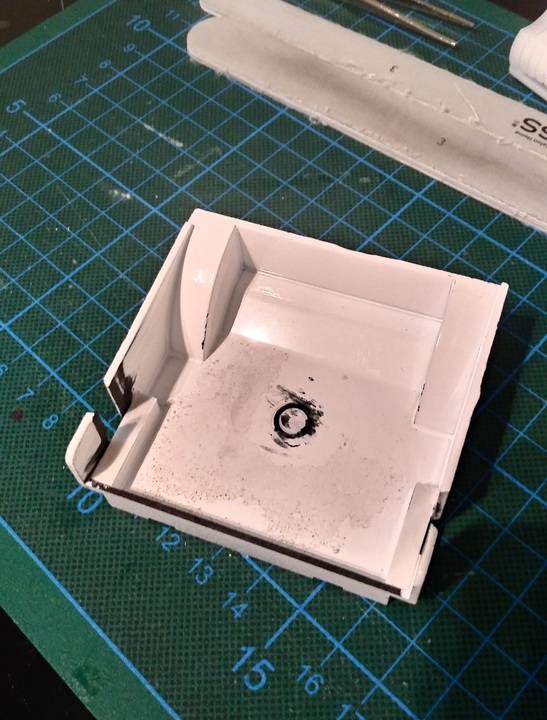
I started with the sidewalls, which were straightened.
The spare wheel was flown out and the bracket was sanded off.
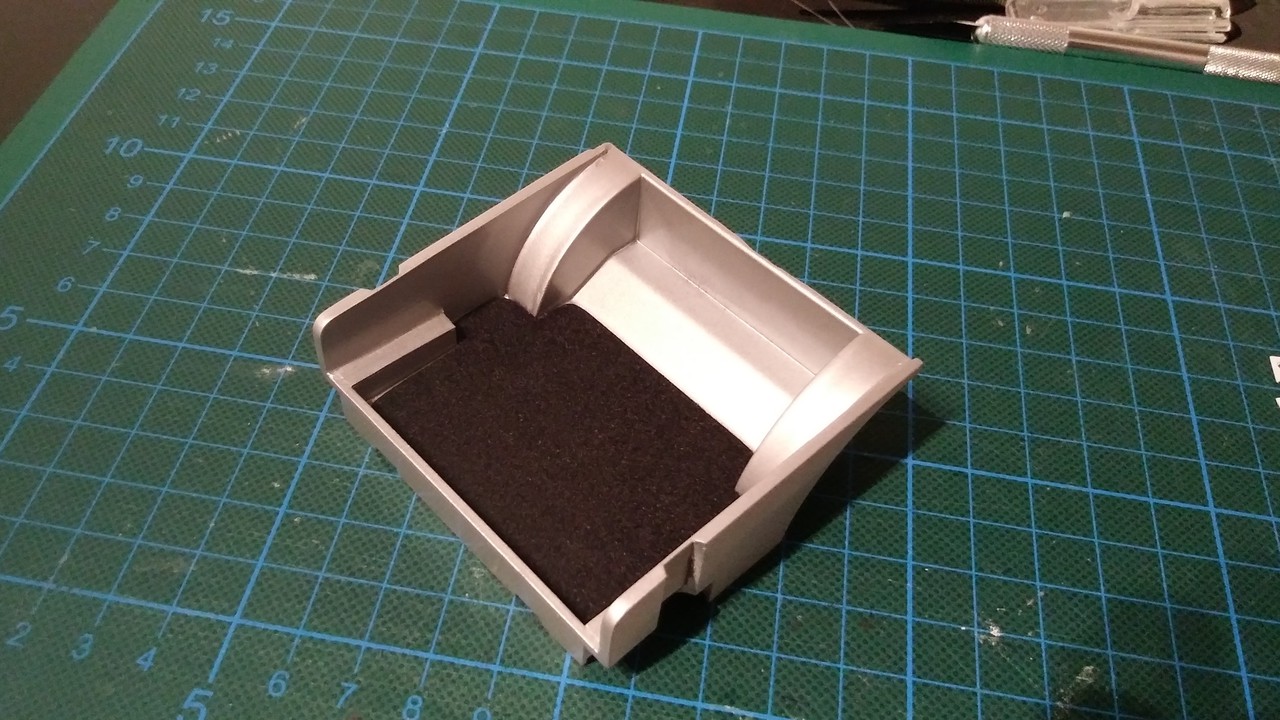
The new side walls and bottom plate are made of 0.5mm polystyrene plates.
After plenty of sanding, the floor was flocked, everything thoroughly sanded, primed and painted.
Image
Image
Image


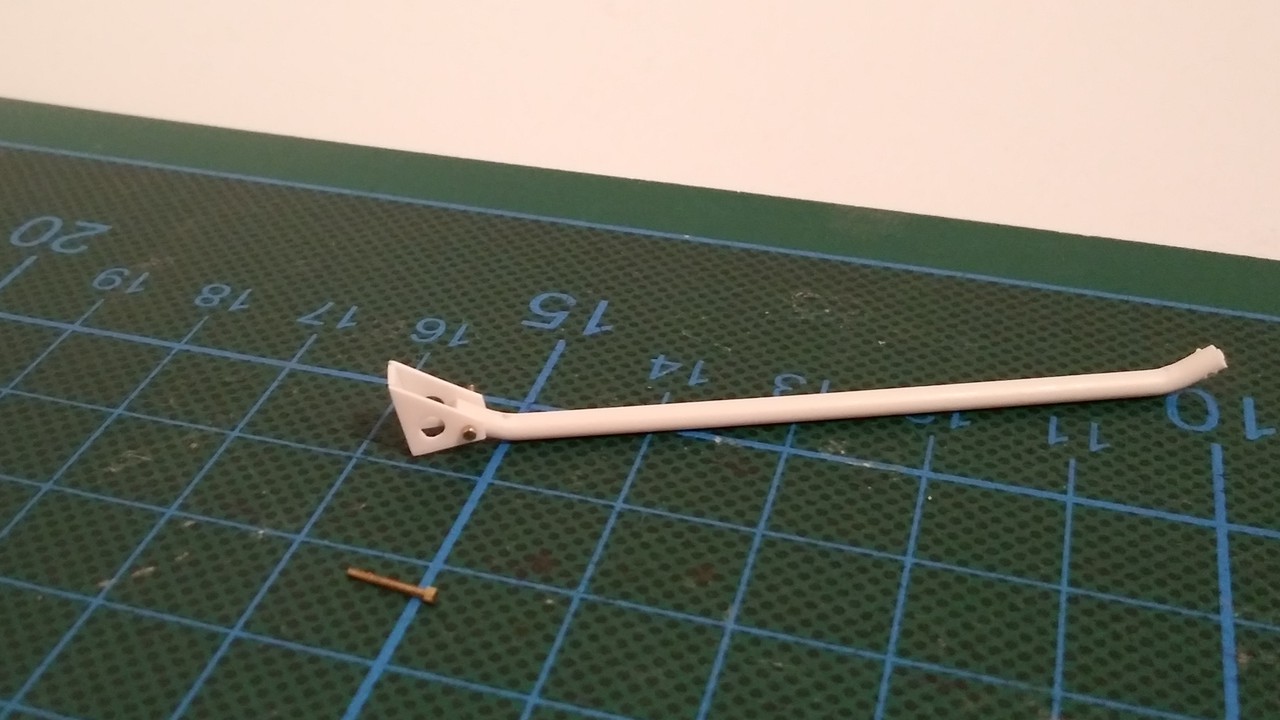
For stabilization and rigidity, a kind of strut bar was built for the rear.
Again, the parts consist of 0.5mm polystyrene plates, the strut of a 2mm polystyrene rod. M0.6 screws were used to attach the bracket to the strut.
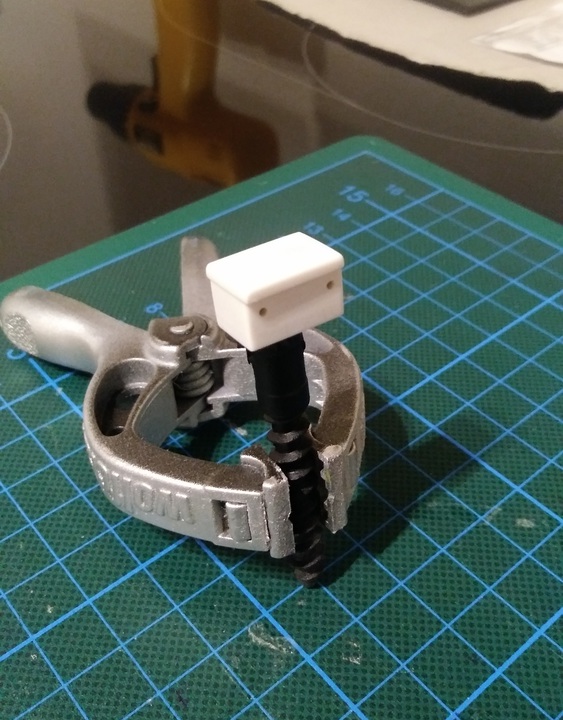
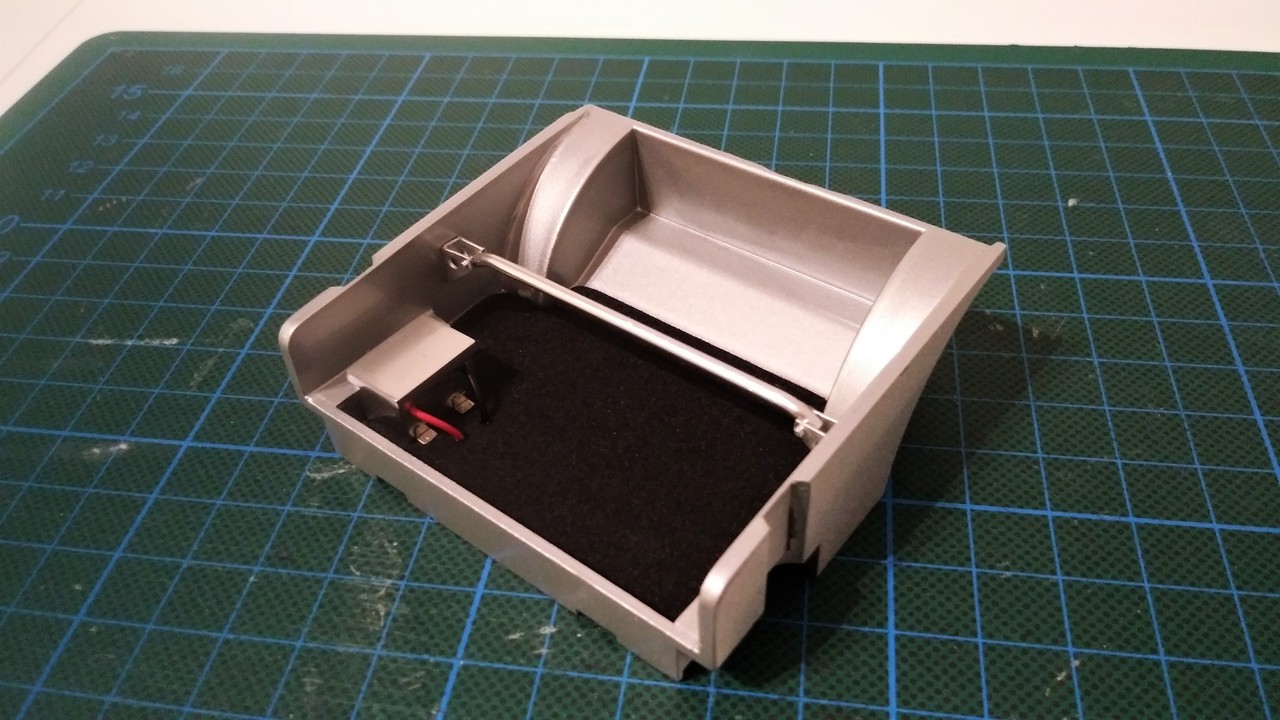
The battery also finds its place in the rear. This time it is in a battery box (polystyrene). The small mounts are from the Tremonia Racing set:
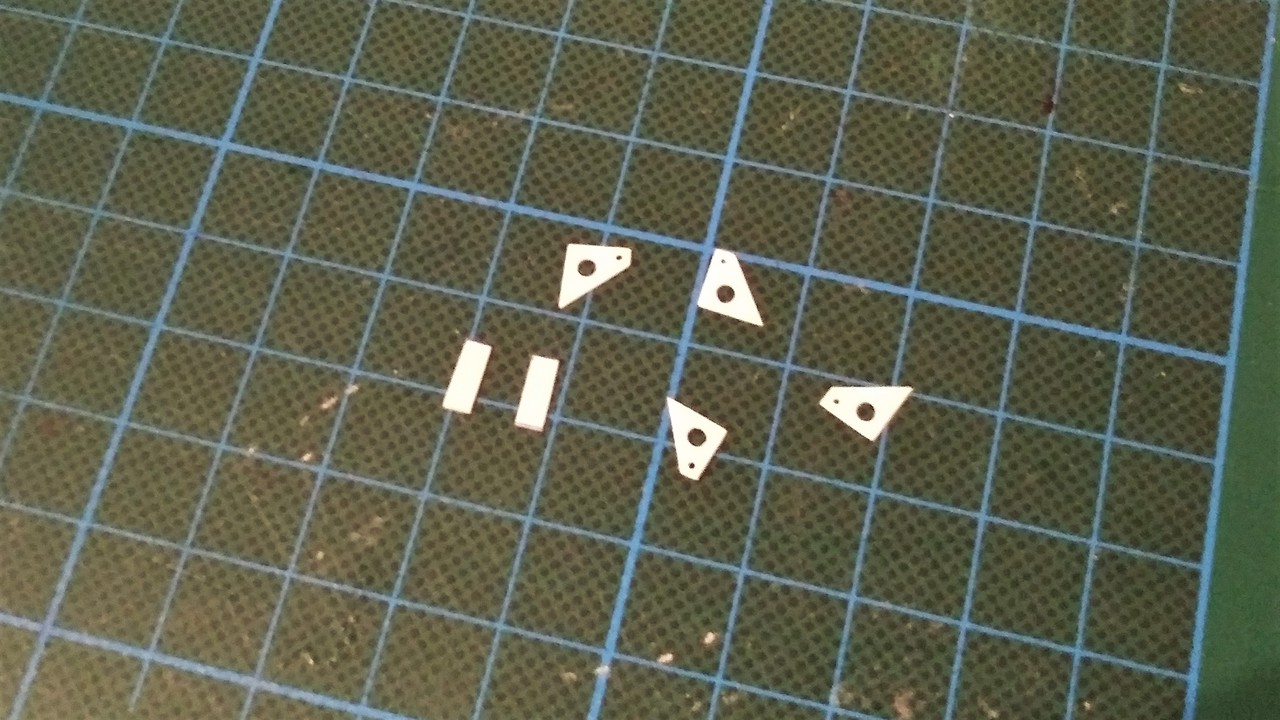
Image
Image
Image
Image

User avatar
[KRAFTIG]
.
.
Posts: 32718
Joined: Sun Jun 17, 2012 9:08 am
Location: Canada
Contact:

Re: Project: 1969 Plymouth Roadrunner Pro Charged

Post by [KRAFTIG] » Tue Aug 14, 2018 9:48 am

Nice work on the the rear strut bar.

User avatar
StratosWRC
.
.
Posts: 7402
Joined: Tue Aug 27, 2013 4:56 pm
Location: Canada

Re: Project: 1969 Plymouth Roadrunner Pro Charged

Post by StratosWRC » Wed Aug 15, 2018 8:29 am

Nice nice

duffy-duck21
Posts: 57
Joined: Tue Jul 03, 2018 9:21 am
Location: Germany

Re: Project: 1969 Plymouth Roadrunner Pro Charged

Post by duffy-duck21 » Fri Aug 17, 2018 12:42 pm

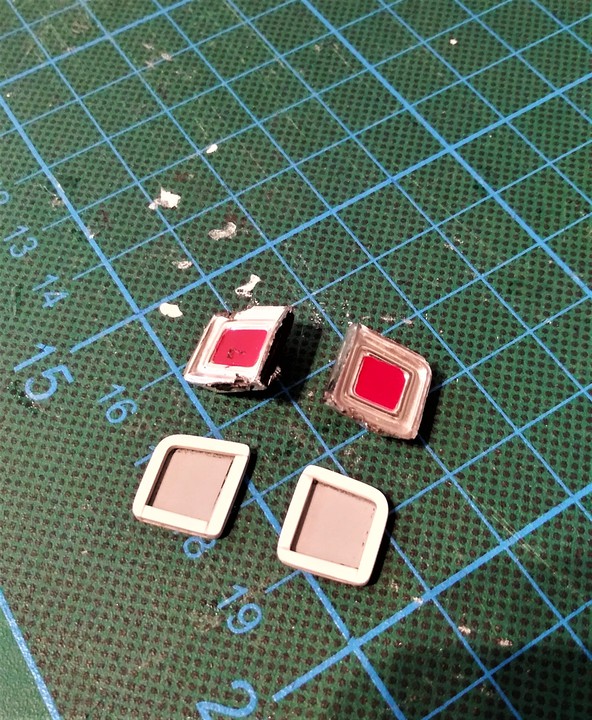
A major downside to the model are the taillights. Not only unclean processed, but only red painted glasses.
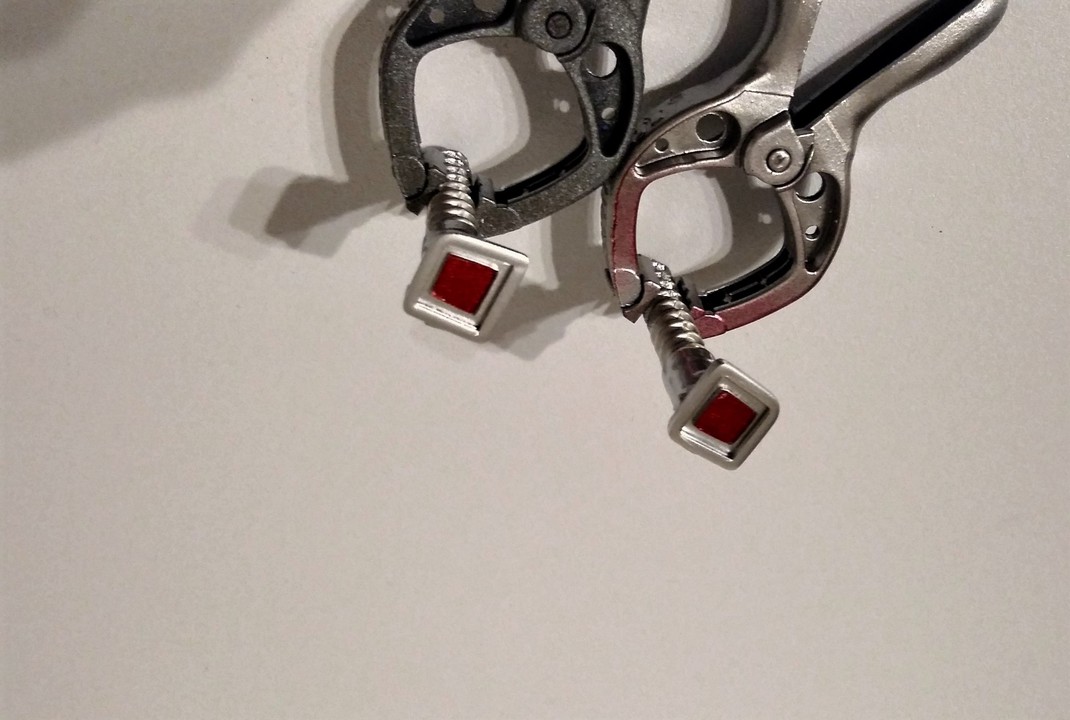
Since even with the 1: 1 cars more and more modern LED lights are installed, the RR should also receive a new pair.

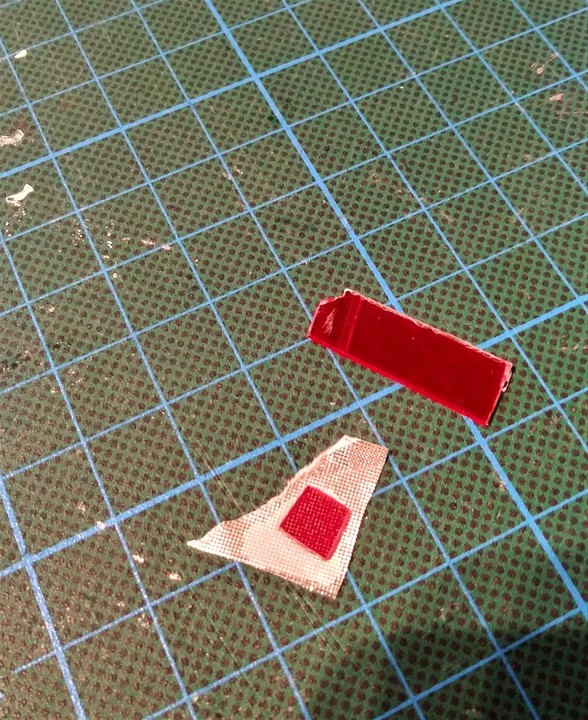
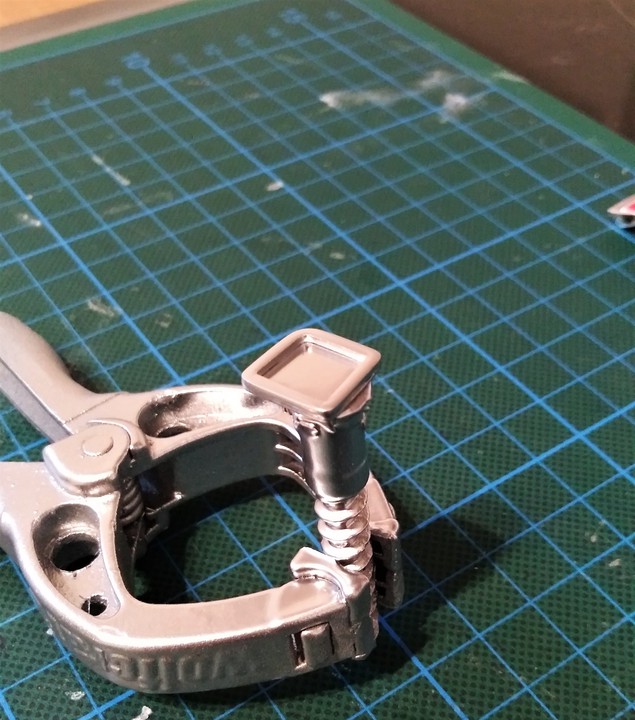
Everything was made of polystyrene. For the glasses I sprayed a piece of clear plastic with Tamiya clear red.
To make sure that the glass is not just red, perforated foil was glued to the back to show small LED spots or sublimities in the glass.
The finished lights may look a bit simplistic but when installed, they look much better than the originals.

Image
Image
Image
Image

User avatar
[KRAFTIG]
.
.
Posts: 32718
Joined: Sun Jun 17, 2012 9:08 am
Location: Canada
Contact:

Re: Project: 1969 Plymouth Roadrunner Pro Charged

Post by [KRAFTIG] » Fri Aug 17, 2018 12:54 pm

Haha brilliant!

duffy-duck21
Posts: 57
Joined: Tue Jul 03, 2018 9:21 am
Location: Germany

Re: Project: 1969 Plymouth Roadrunner Pro Charged

Post by duffy-duck21 » Sat Aug 18, 2018 2:44 pm

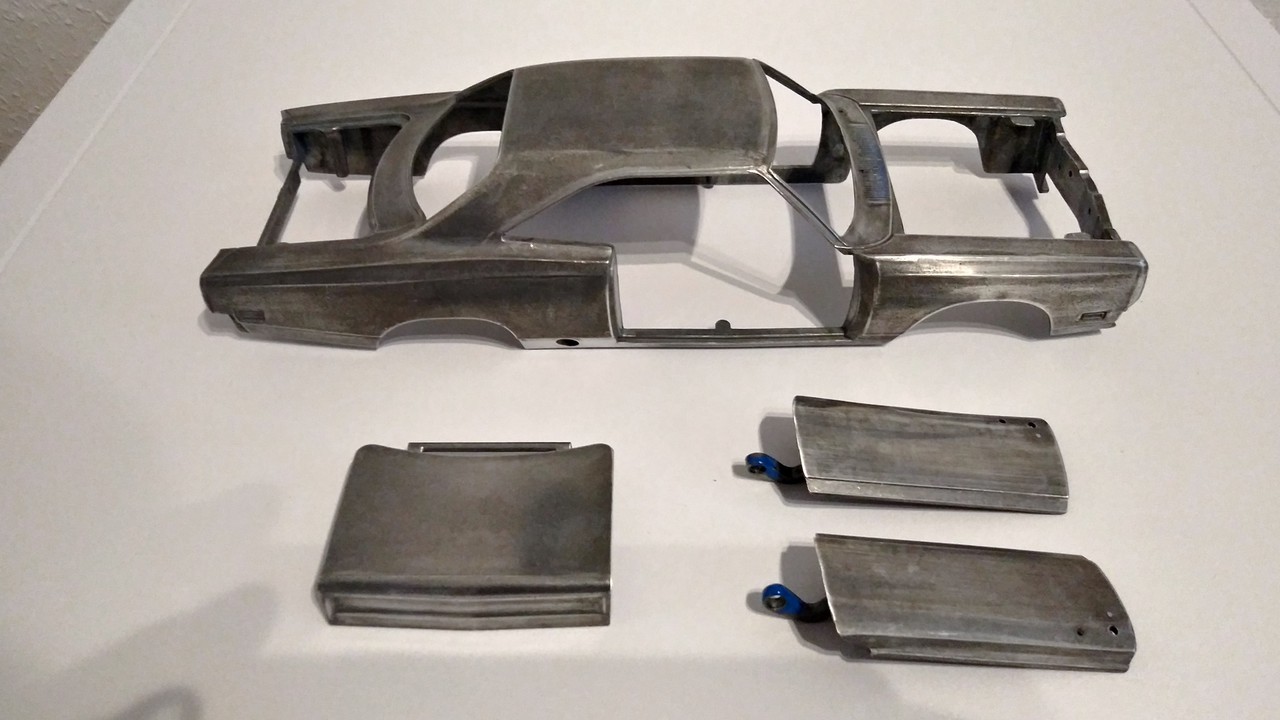
Today the paint was removed. After 2 passes of paint remover everything was processed with 2500er sandpaper to achieve the smoothest possible surface.
Image


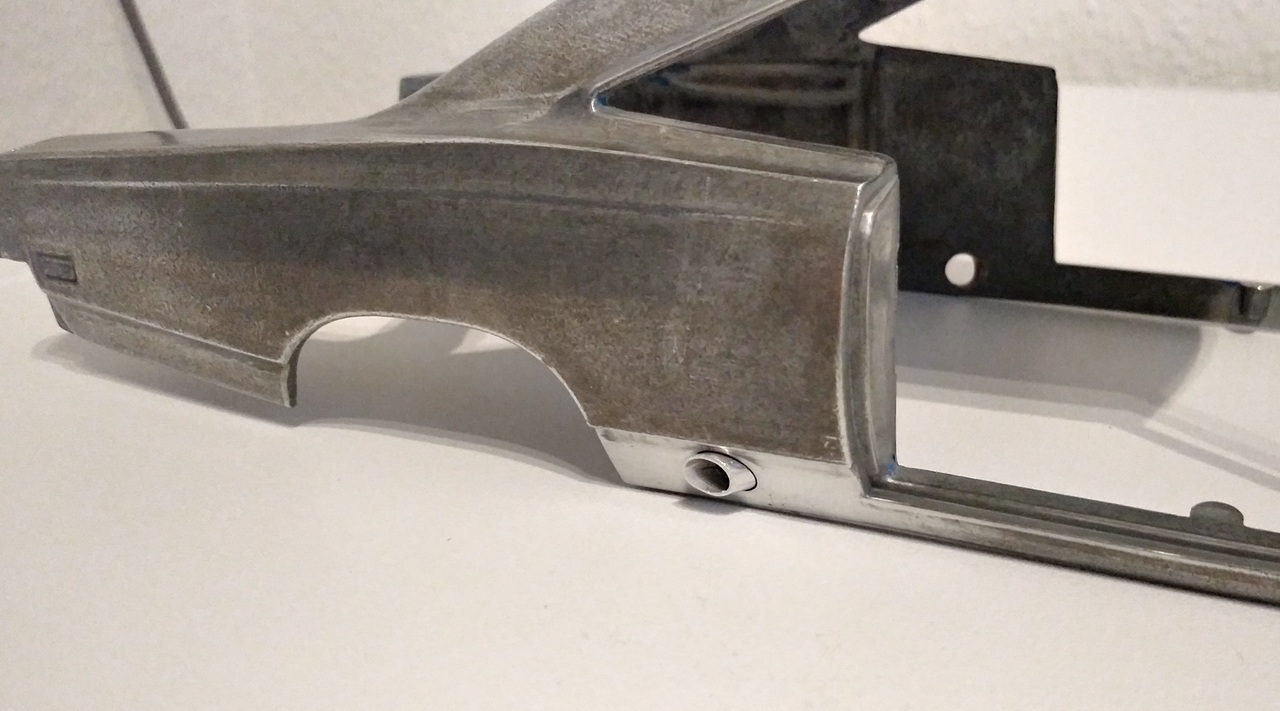
During the exhaust, I have long considered which variant I will build.
The decision fell on sidepipes, which are embedded in the body.
For this holes were drilled with 5mm diameter. Actually, the holes should be further in the direction of the rear wheel but on the first try the 1mm drill is broken in the middle.
As exhaust pipe I use a 5mm aluminum tube with a wall thickness of 0.5mm.
Image

User avatar
[KRAFTIG]
.
.
Posts: 32718
Joined: Sun Jun 17, 2012 9:08 am
Location: Canada
Contact:

Re: Project: 1969 Plymouth Roadrunner Pro Charged

Post by [KRAFTIG] » Sat Aug 18, 2018 4:18 pm

Love the side exhaust. How do you paint? Airbrush?

duffy-duck21
Posts: 57
Joined: Tue Jul 03, 2018 9:21 am
Location: Germany

Re: Project: 1969 Plymouth Roadrunner Pro Charged

Post by duffy-duck21 » Sun Aug 19, 2018 9:07 am

I spray out of the can. Some find airbrush better but crucial for the result is the final sanding and polishing.

User avatar
[KRAFTIG]
.
.
Posts: 32718
Joined: Sun Jun 17, 2012 9:08 am
Location: Canada
Contact:

Re: Project: 1969 Plymouth Roadrunner Pro Charged

Post by [KRAFTIG] » Sun Aug 19, 2018 10:10 am

duffy-duck21 wrote:I spray out of the can. Some find airbrush better but crucial for the result is the final sanding and polishing.
THanks.

User avatar
StratosWRC
.
.
Posts: 7402
Joined: Tue Aug 27, 2013 4:56 pm
Location: Canada

Re: Project: 1969 Plymouth Roadrunner Pro Charged

Post by StratosWRC » Sun Aug 19, 2018 1:40 pm

Love the side exhaust

Post Reply

Return to “Custom Models, Repairs & Parts Development”