

We all know the history of the Lamborghini Aventador by now. The car was billed as Murciélago’s replacement, which held the throne for about a decade. The model I present here is the 1:8 scale version from Pocher. The Pocher brand has some history with 1:8 scale models, though the Aventador is my first adventure with the brand. Models produced through the years include such manufacturers as FIAT, Alfa Romeo, Mercedes-Benz, Ferrari, and Porsche. Some are considered true inspirational pieces and are highly collectible today.

In 1998, the Porsche 911 was Pocher’s last model kit. In 2004, Pocher joined the Hornby family. Their first effort, the Lamborghini Aventador LP700-4, is available today in Orange (Arancio Argos) and White (Bianco Isis), with the newly announced Aventador roadster to come in 2014. After many hours of research and development, the model under the Hornby direction was finally released in late 2013. “Resurgence of a Legend”, as they call it, and with that, I present the completed model and review.
If you’re not aware, the Pocher model is a “do it yourself” kit, basically, the end-user assembles the model from scratch, utilizing a series of parts that number just less than 800. It is very similar to the traditional plastic model kit – you know – the popular Revell kits of the day. The spin with the Pocher kit is that the meat and potatoes of parts are diecast/metal. The car assembly takes shape in three stages: front, mid, and rear. On a challenge scale, I rate the model 6/10. Extremely easy to assemble, all parts fit together like clockwork. A word of warning: if you decide to buy the kit, download the latest version of the instruction manual from the Pocher website. The most challenging piece for me was the water decals, since I don’t have much experience with them. Definitely do your research online, much info to help you along. I also highly recommend using Micro Set from Microscale Industries Inc., the product will allow you to place and properly set the decals in the desired location.

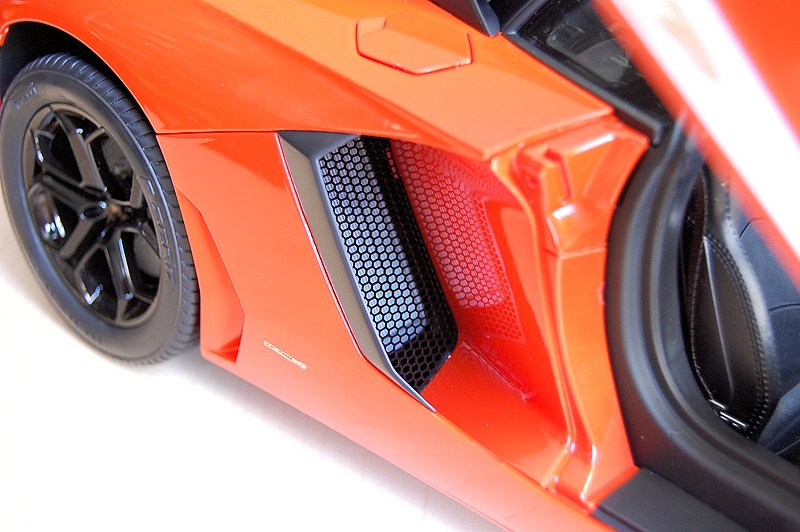
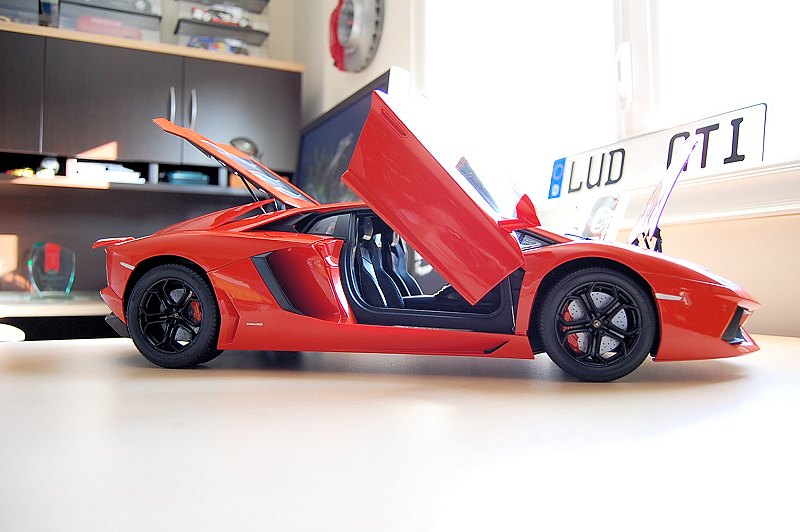
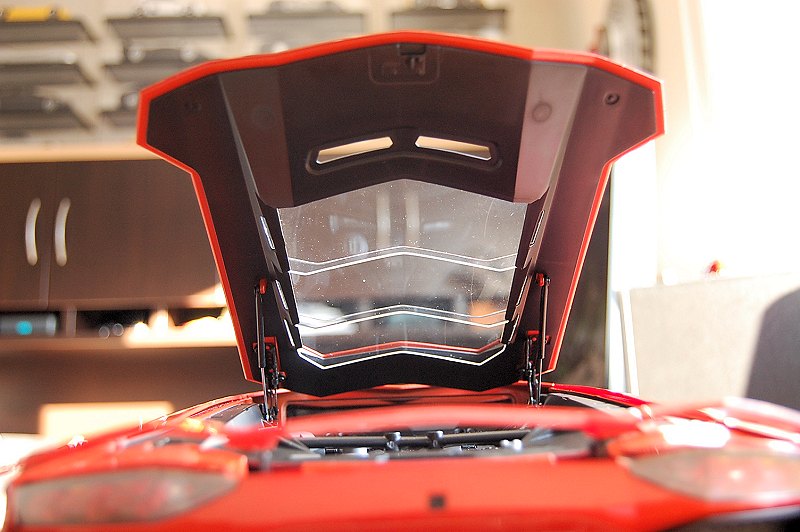
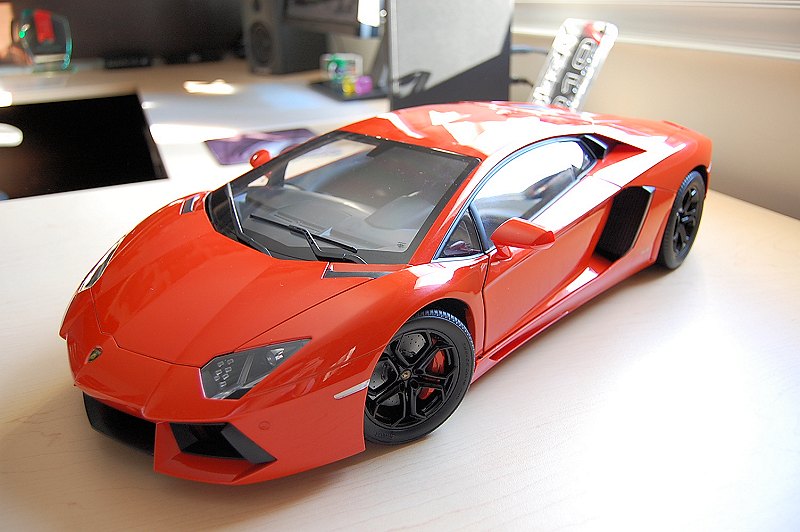
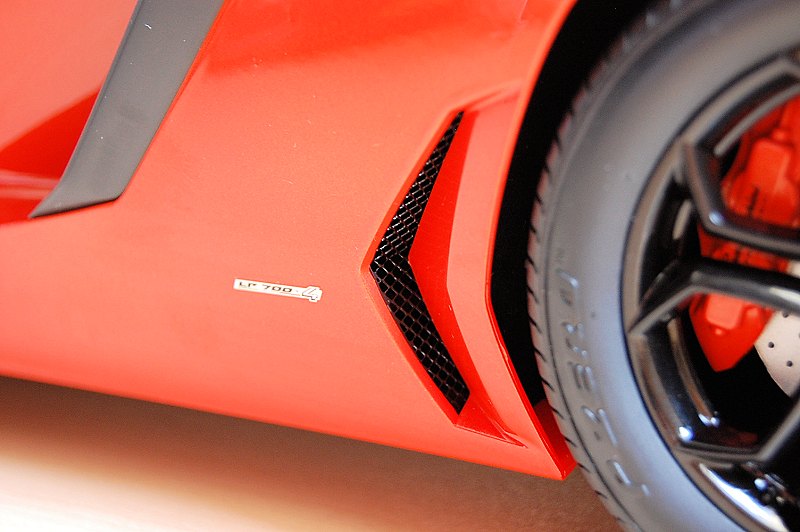
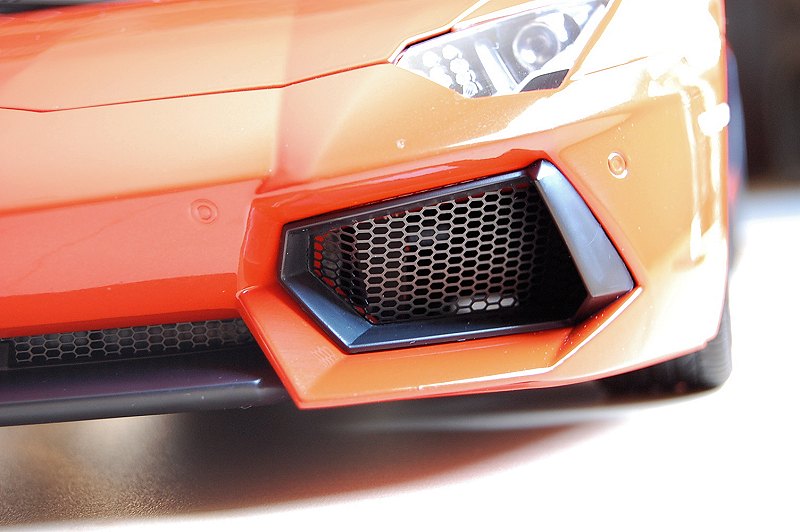
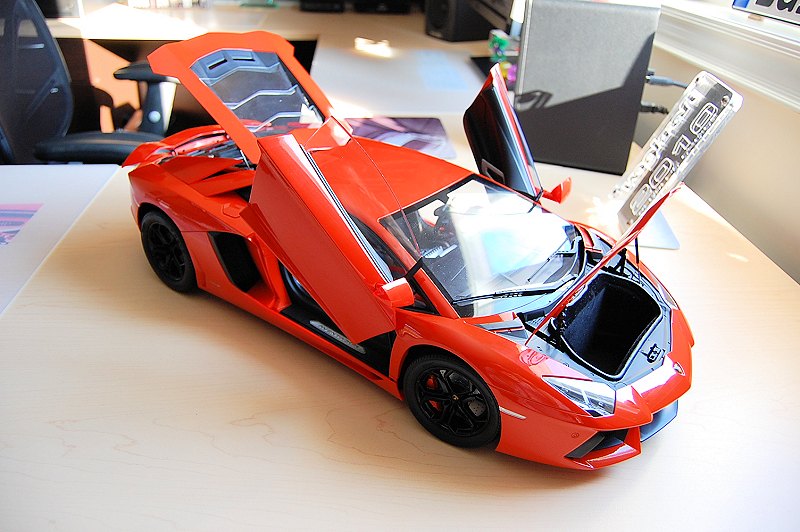
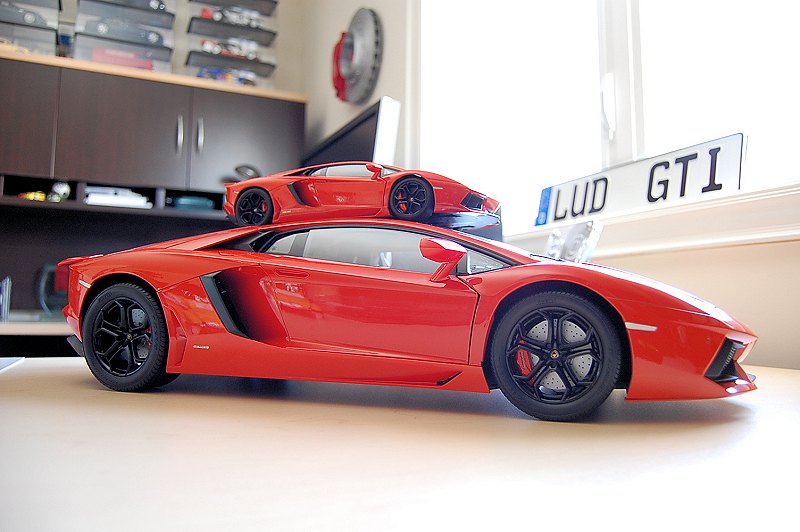
The size from front to rear of this mammoth beast is just over 22 inches! And fully assembled, the Aventador tips the scale at slightly less than 15 lbs. The side-by-side comparison with the AUTOart 1:18 Aventador will give you some perspective on the overall scale. This thing is HUGE! Pocher did a great job in capturing the overall body lines of the original. All the details a Lamborghini fan would require are here and more. For example, the grille works front to rear and even all the small details, i.e. cooling ducts, all feature metal perforated grilles. Metal decals and 3D logos are featured throughout. A neat, unexpected detail included with the kit is the water decals for the factory-scribed Lamborghini glass. Pocher provides enough for each piece, but I decided not to use them on the rear glass – just going for a cleaner look.

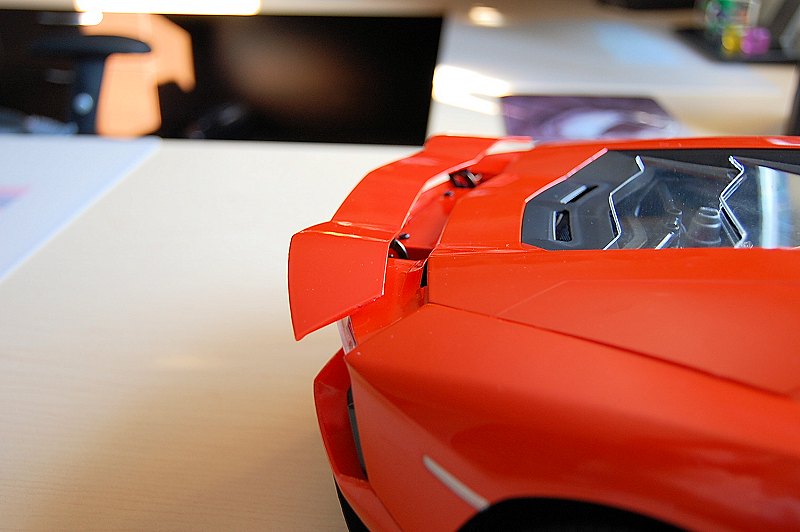
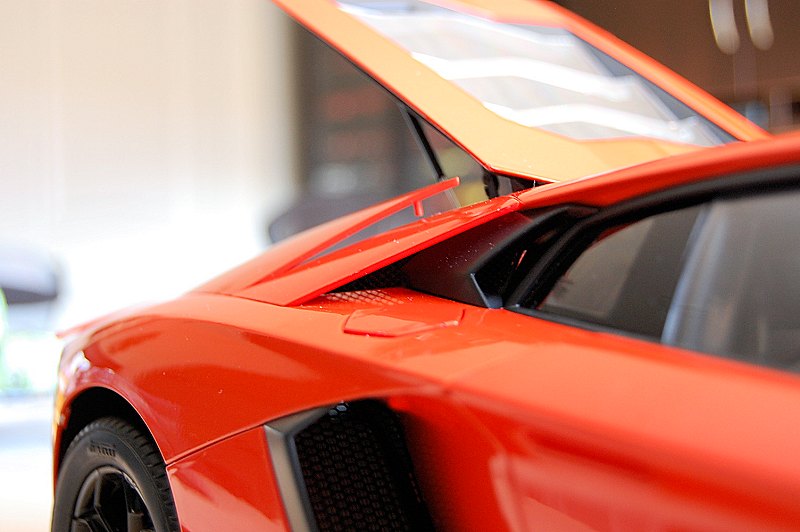
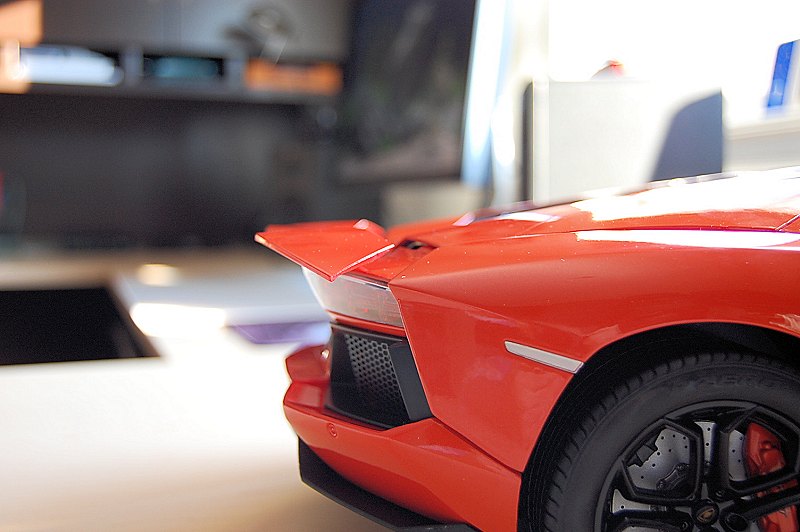
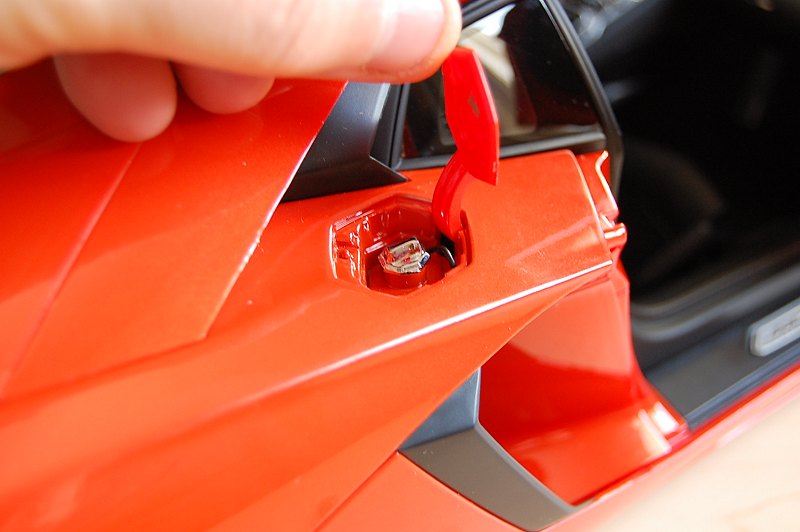
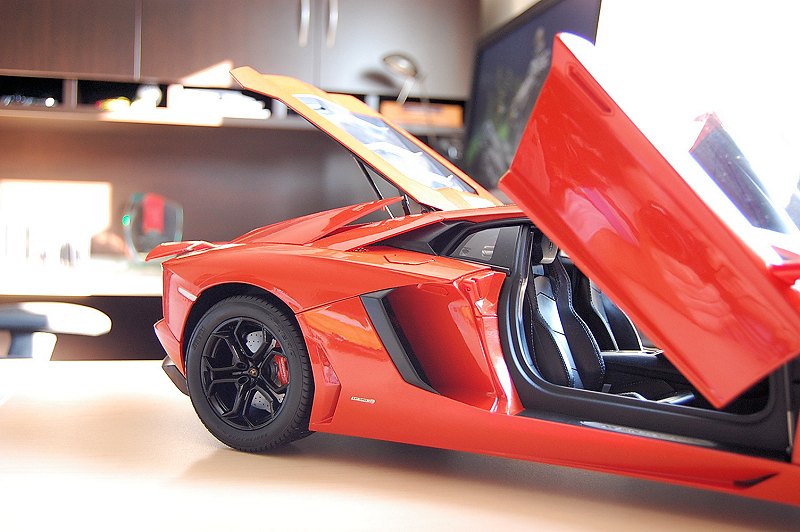
The paint, for the most par,t is very good, though I did notice some foreign debris on the front section of the hood. Shutlines and panel gaps for the most part are very good as well. The biggest challenge on my model was where the rear hatch meets the roofline, a little too large for my taste. Note the gap where the door meets the front section of the car, too. I suspect this is due to the full-functioning doors. The model also features a functioning rear spoiler, gas cap, adjustable side mirrors, rear cooling vents, and access to the motor and front storage compartment. As I mentioned earlier, the car is assembled like traditional plastic model kits, so parts are located in a series of trees. If I had one thing to recommend to Pocher, it would be that the painted parts should be cut before being painted. The reason being when you cut the individual parts off the tree, the underlying plastic is exposed, which detracts from a consistent paint line. I got around this by ordering some Aftermarket Arancio Argos (orange) paint from a local hobby shop and touching up these exposed areas.

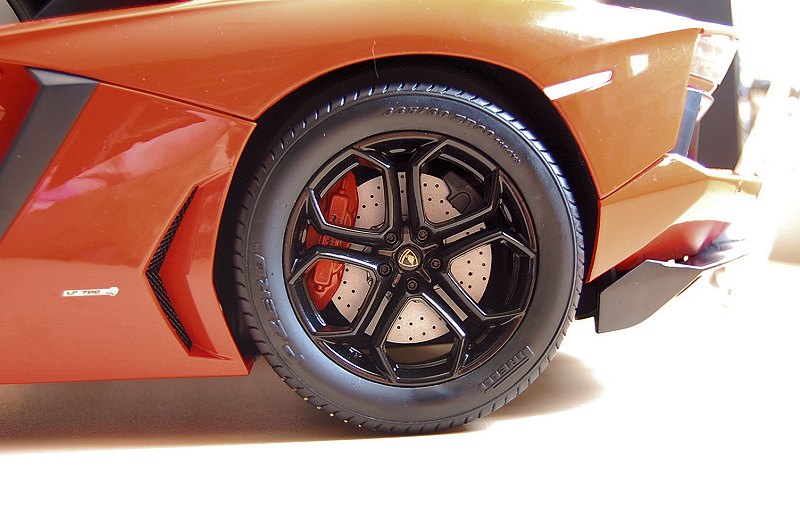
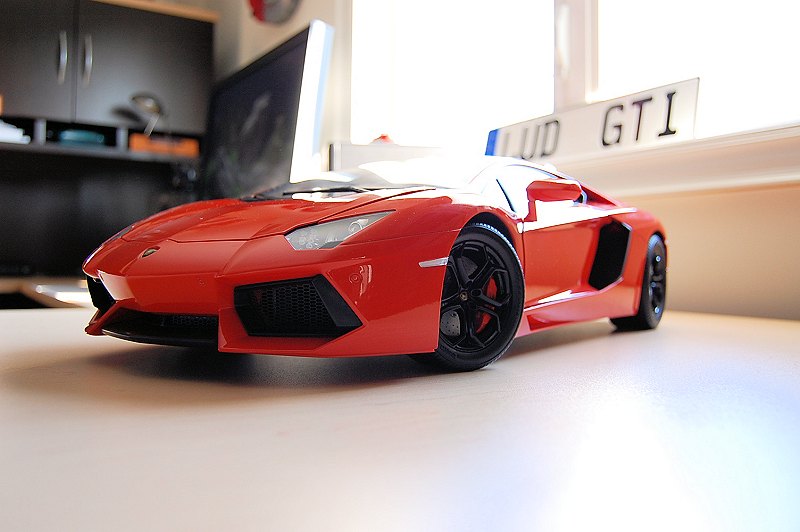
The wheels are nicely executed, too, and the fit and finish are solid. The rotors are definitely much better in person than they appear in photos – fully vented and cross-drilled. Note the detailed lettering on the tires. The rear set features a sizable 355 tire while the front set is leaner at 255. The rear brake section also features an additional parking brake, as noted in the photos. Nice touch, Pocher.
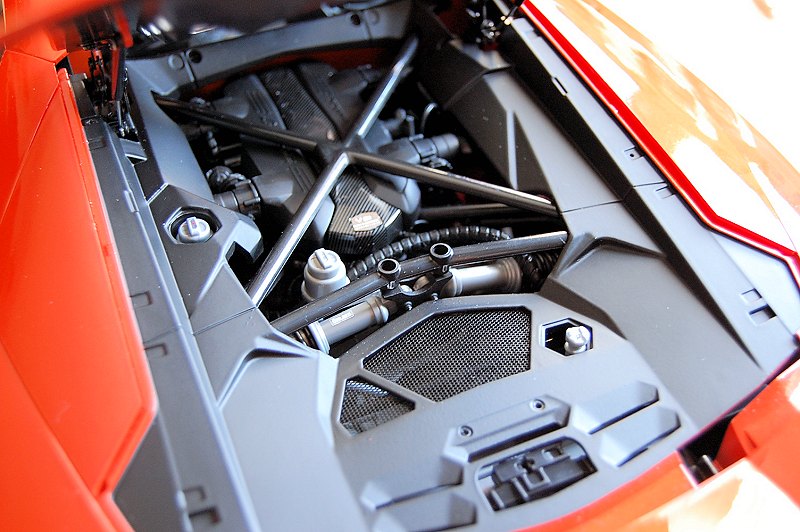
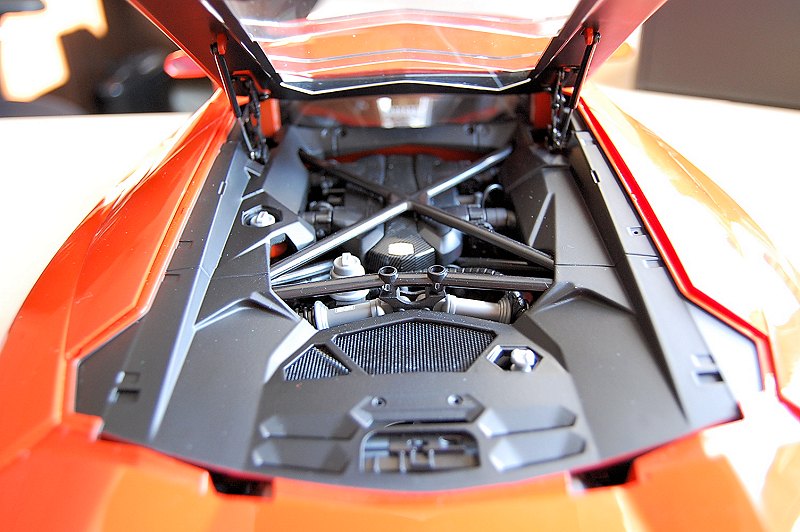
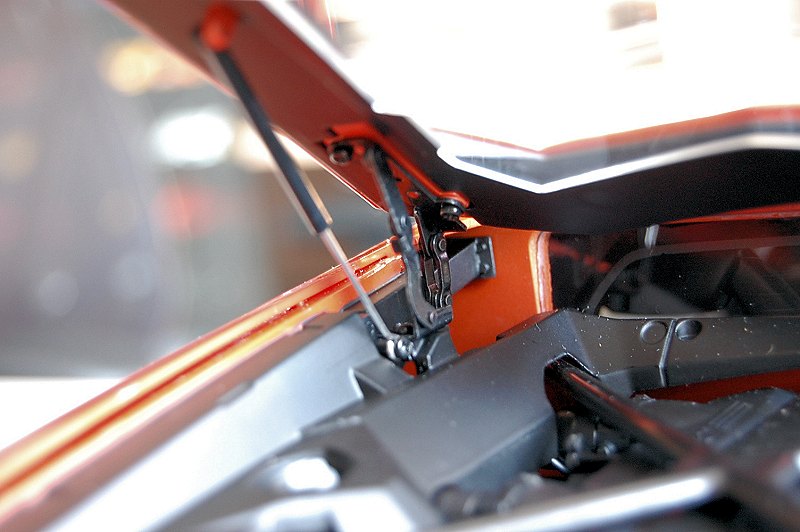
The heart of the beast is nicely detailed. The depth of the colour theme is silver and black, but it all works well with surprising accuracy and realism. The operation of the hatch is smooth and life-like, and the hinge work and struts add the level of detail one would expect. The car features a fully functional suspension, some of which can be seen from the motor sightline. 95% of the suspension components are comprised of metal, which was definitely my favourite element to assemble.
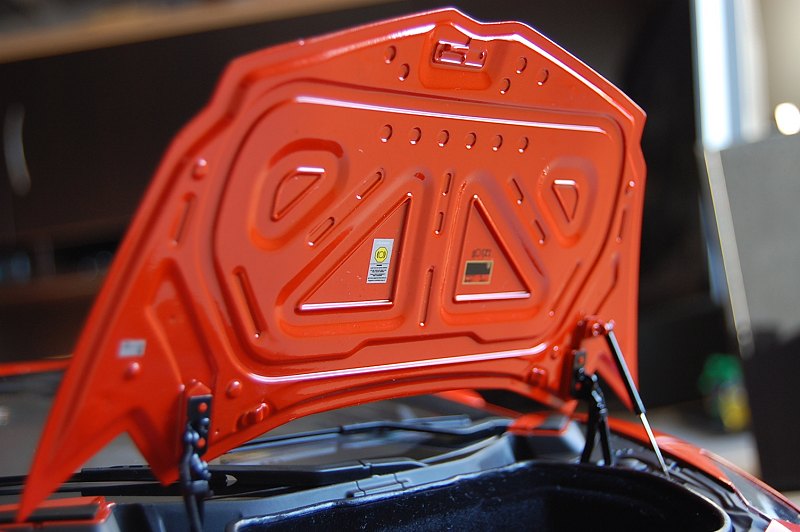
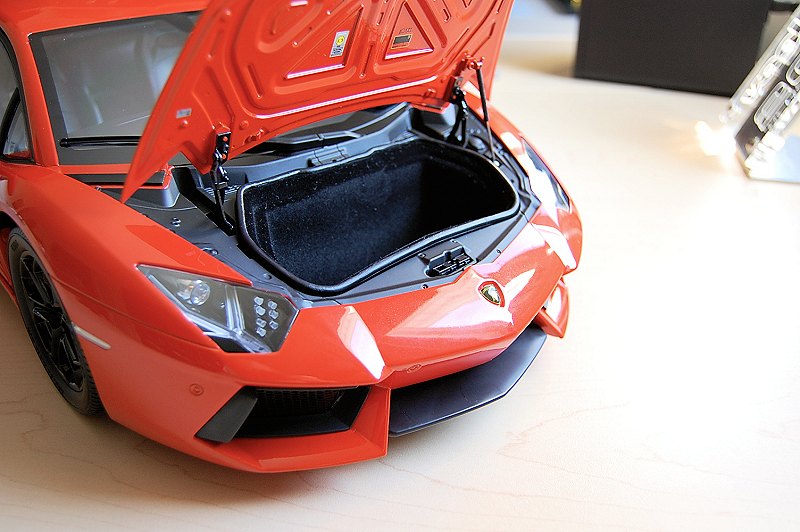

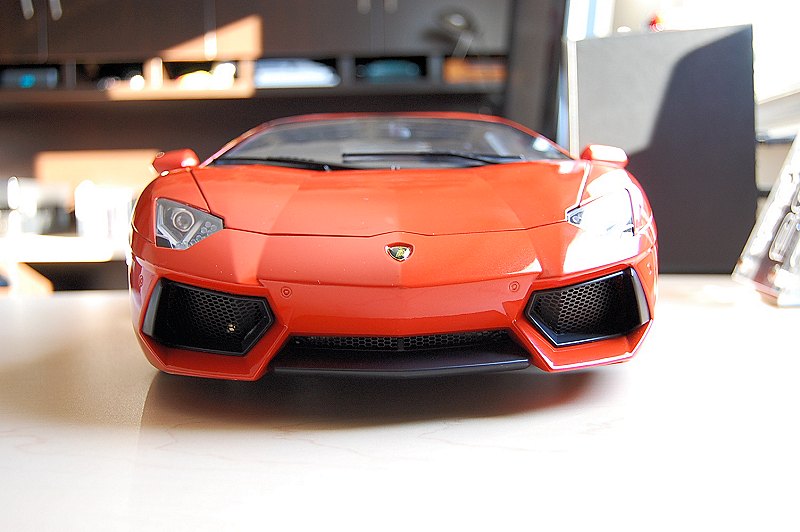
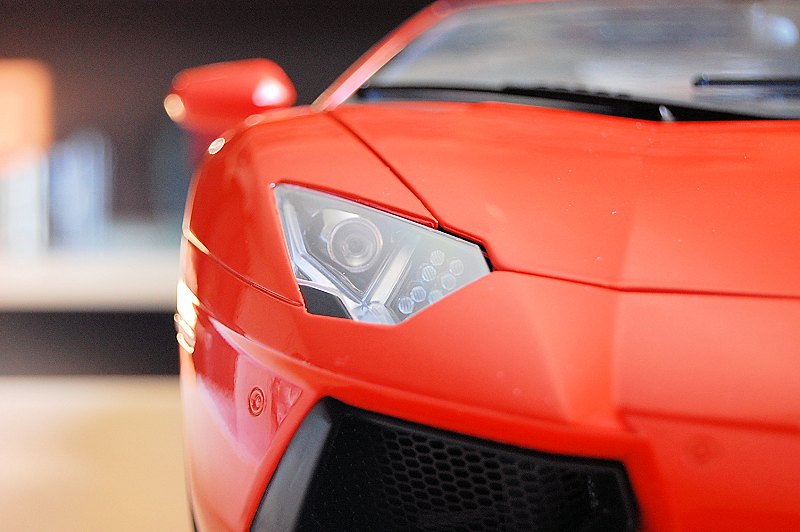
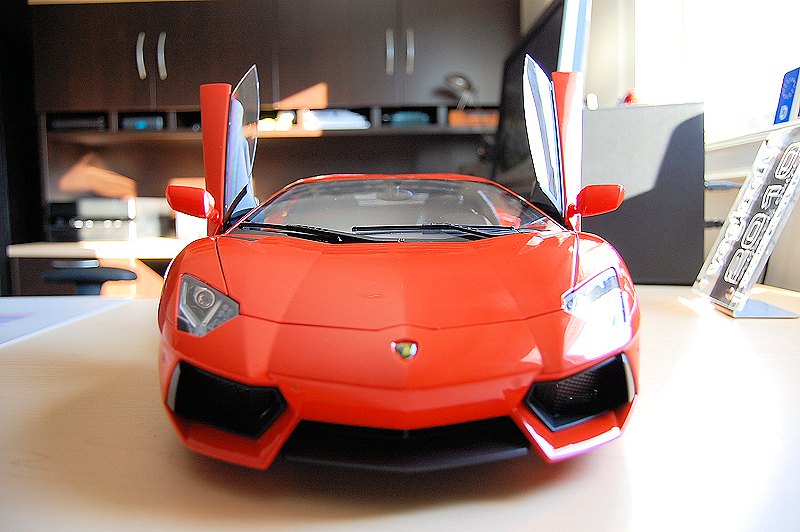
The front storage is nicely detailed, too. My personal favourite bit is the rubber gasket surrounding the carpeted storage opening – just looks cool. Notice the decals on the hood too, nice work Pocher. Again, the hinge work here is flawlessly detailed. Note the detail and depth of the headlights. Those individual indicators were a pain in the ass to set straigh,t I tell you. The overall package is solid.
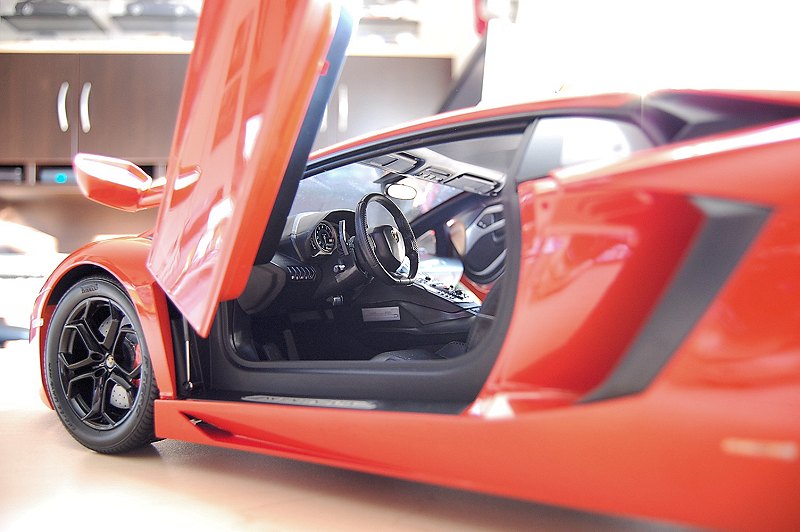


The interior of the Aventador is pretty straightforward. Accessing the interior is done through the fully functional Lamborghini doors, and the engineering behind the mechanism is brilliant. Pocher provides weights for the end-user to dial in their favourite opening speed. The main material throughout is hard plastic, but the seats do feature an upper section of soft, pliable rubber. Seats do allow for adjustment front to back, too. Notice the seatbelt with a metal clasp. There is no carpeting found within the interior, but Pocher does include a couple of carpet-like car mats, which I opted to leave out. Though everything works and presents a solid replica of the Aventador interior, a little more depth would definitely help here.
If you’re looking for a centrepiece in your Lamborghini collection, the Pocher Aventador can be just that. Overall fit and finish are well above average, considering the scale. The added attention to detail on the exterior and within the opening elements is generous. The price of the package is in the neighbourhood of $749US, which is somewhat of a bargain considering the immediate competition. If you’re up for the challenge, the overall project will take you about 45-50 hours to completely assemble from start to finish. I would say Pocher has definitely and successfully lived up to the words ‘Resurgence of a Legend’. Well done, folks. Enjoy the pics!
The Build:
Aventador Project Part I – Inside The Box!
Aventador Project Part II – Baby Steps…
Aventador Project Part III – Interior Cockpit
Aventador Project Part IV – Motor & Suspension
Aventador Project Part V – Body Panels Check!
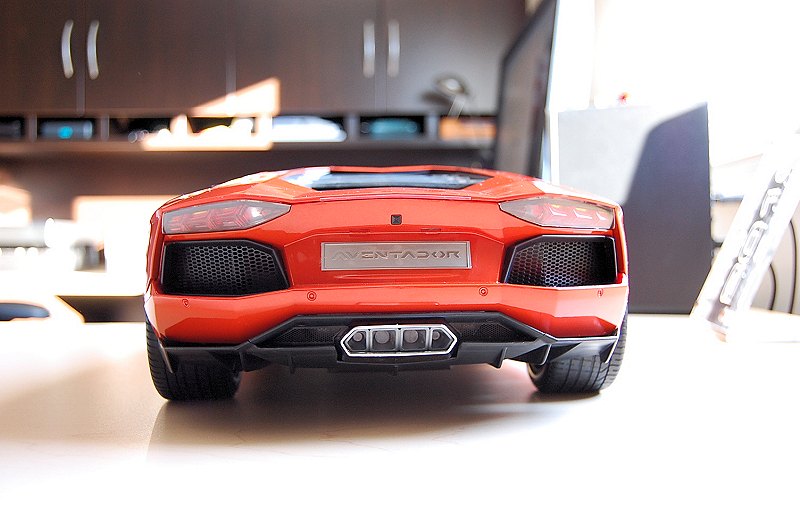


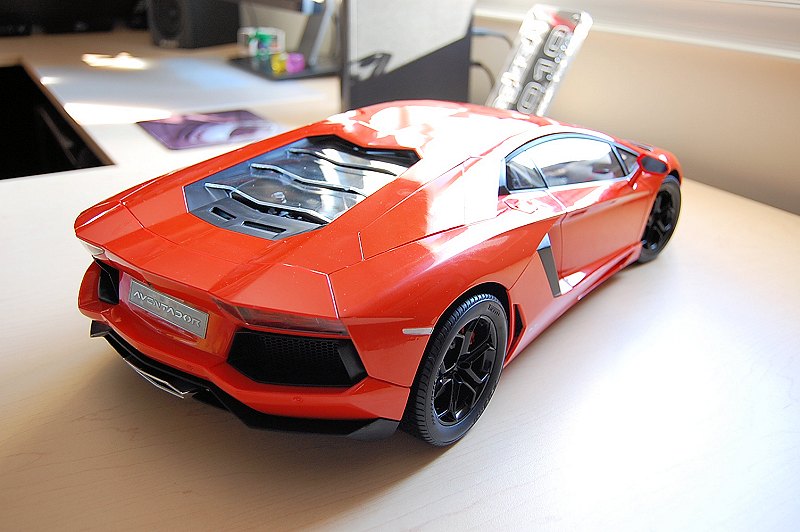

I don’t see the lamborghini sticker/logo on the back?
Good eye. If you read the build thread you’ll see I had some challenges with decals. I goofed on this particular decal and required a replacement. At the time of taking of photos I had yet to install it.
Nice job on the build. One question: I didn’t see reference to painting in any of your posting on the build. Did you paint anything, or did you stick with the colors of the parts as they were. If you did paint, did you use any sort of reference or just go online?
No painting here. I wanted to present the Pocher kit exactly as one would build out of the box.
Hello, right door does not fit.. can not get screws in place to hold the door? Thanks Miky
I had a similar issue, check the angle of the hinge. I also believe Pocher released a video on how to install and manual update. Check their website!
Looks beautiful……
Thanks.
Hey! I just Wonder how long time will it takes for a normal person to build this car finished, if he will work on it 1 hour a day?
Thankfully for you I am a ‘normal’ person :) Honestly I may have spent 40-50 hours on the model from start to finish. When you say you will dedicate an hour a day you won’t, it will be more. You’ll find yourself engrossed in the project and one hours turns into four, five, six… Good luck!
After your experience, did you feel the need to go with these tires instead?
http://www.scaleautoworks.com/PocherLamboDVD.html#tires
Also, because I haven’t built a model in decades since my youth, I need to get new tools. do you think these are worth the price?
http://www.scaleautoworks.com/toolset.html
Those wheels are nice. Will I purchase them no. My car is displayed in a custom case quite high so seeing the intricate detail isn’t important, but hey that may change some day. As for tools, I would highly recommend a good set of screwdrivers, Dremel tool, and tweeters. Good luck!
Looks great!! For some reason in those photos the proportions don’t look right compared to the autoart; to short and stubby. Also the tyres look like they have a waayyyyyyy too high profile. Maybe something poacher did wrong. Judging by the photos 😂😂😂
Wow….what a fab review…Thanks.
I used to be a very keen modeller in fact my last was a 1/18 F1 car which has been cased for 20 years and when lifted the smell of the paint is amazing…
On that subject….I’m getting this model but wonder on finishing how much I will have to pay for case to cover it as this is important.
Thanks
I just want to clarify, so every piece of this kit comes already painted, no painting needed?
Correct!
I am wondering whether you might be able to help me. I am currently building the Pocher Lamborghini Aventador and have accidentally damaged two hinges. The part numbers are HK102 HT-01 and HK102 HT-02. Have you any idea where I can get hold of replacements for these parts?
Try here:
https://www.pocher.com/uk-en/shop/spares.html