
The initial Eaglemoss delivery, if you remember, was a box filled with parts, guides and bonus goodies that included enough pieces to complete five installments of the total build. That’s where we are today, and to be honest, guides 1 – 5 were all completed during Christmas vacation. And what better timing than during a pandemic to lose yourself in this awesome build of the 1:18 Mercedes-Benz 300 SL. On a side note, the team is just about to release their latest prize, it’s about a month away, the 1:8 Mustang Eleanor. Famed by the movie Gone in 60 Seconds…
Guide #5 has proven the most challenging to date. Broken parts, pieces that don’t fit and instructions that don’t truly follow with the task at hand, I’ll elaborate more in detail below. Nothing major, just a few hiccups along the way. Until we receive additional parts, the build will be at a standstill until then.
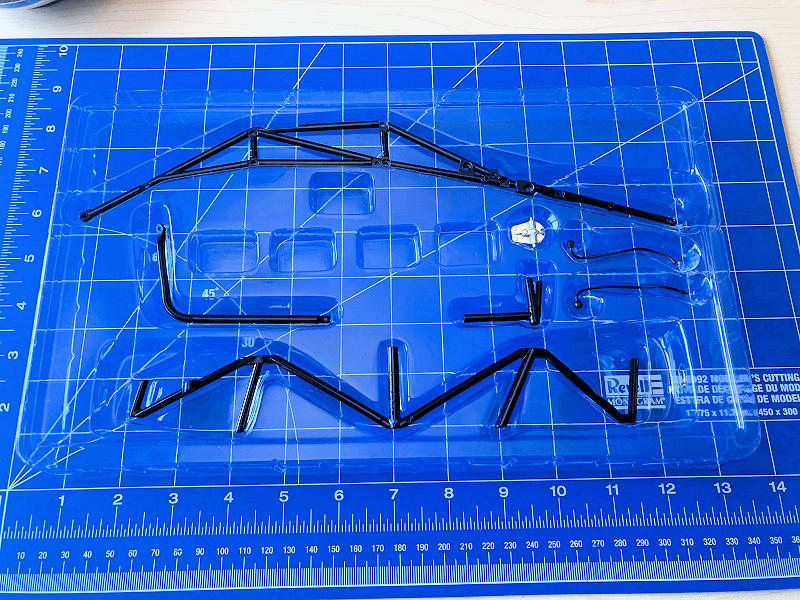
Finally, I like to point out that most, if not all, parts within guide #5 are fabricated in metal. Fit and finish would lean toward excellent for the most part.
GUIDE #5
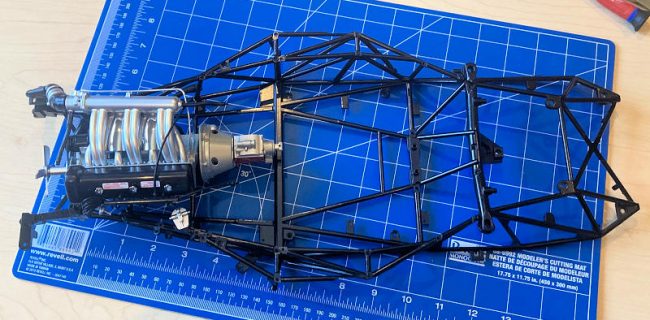
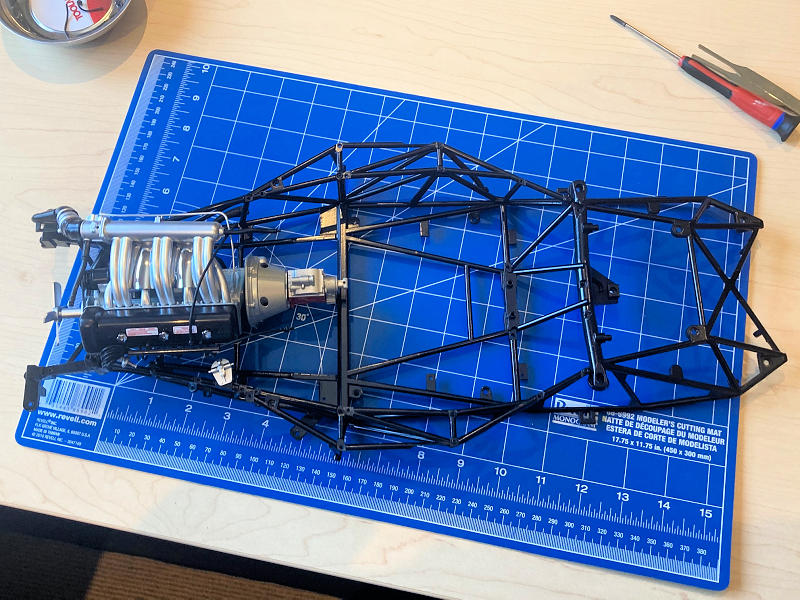
LEFT & RIGHT CHASIS ASSEMBLY
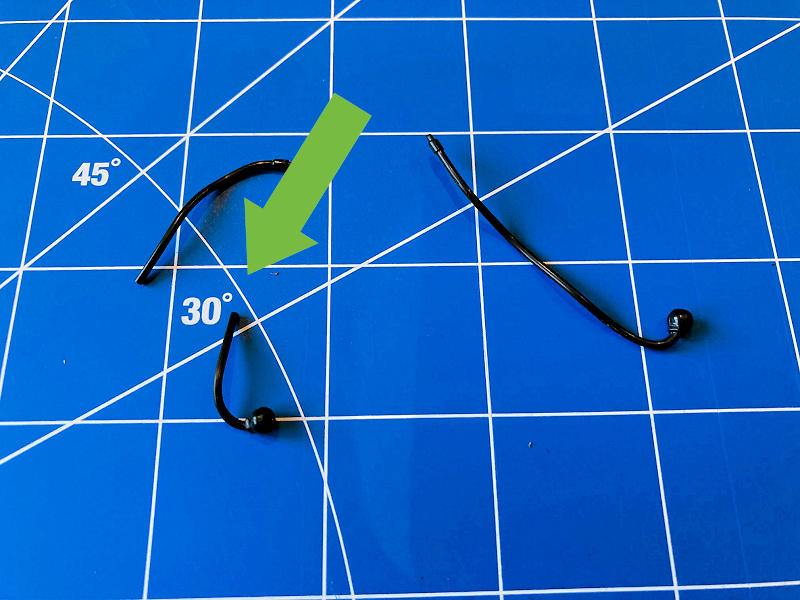
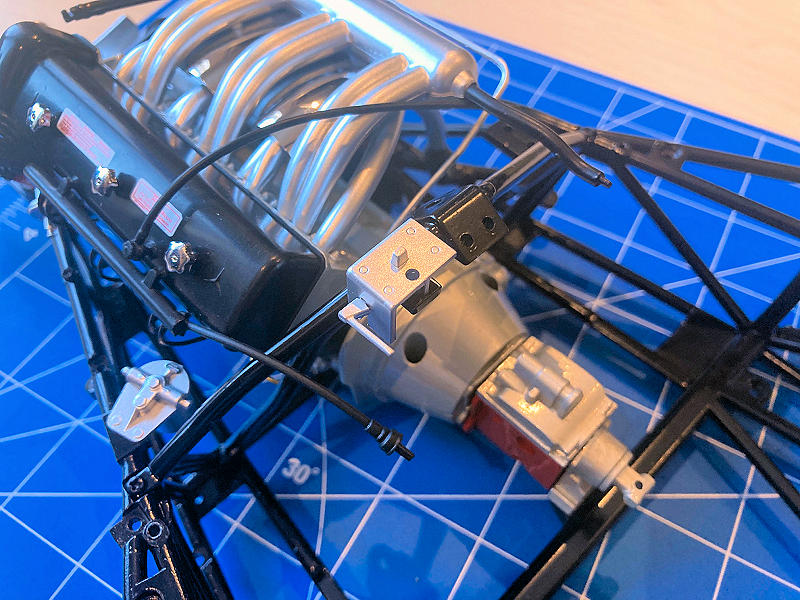
The left chassis structure is the first side you assemble. After installing the fuel filter, take my advice and install the two fuel lines now. Why? Well, it is almost impossible to fit them based on the instructions offered later. In my experience, 20 minutes of trial and error and a few swear words later, the task still wasn’t complete. And to add insult to injury, I also broke one of the two lines. As per Eaglemoss’s tech team confirmation and the supplemental video they released (I assume others were plagued with the same LOL), this step needs to be completed now. There is no call to action/update indicator or highlighted in the instruction guide either.
TIP: Install the fuel lines now.
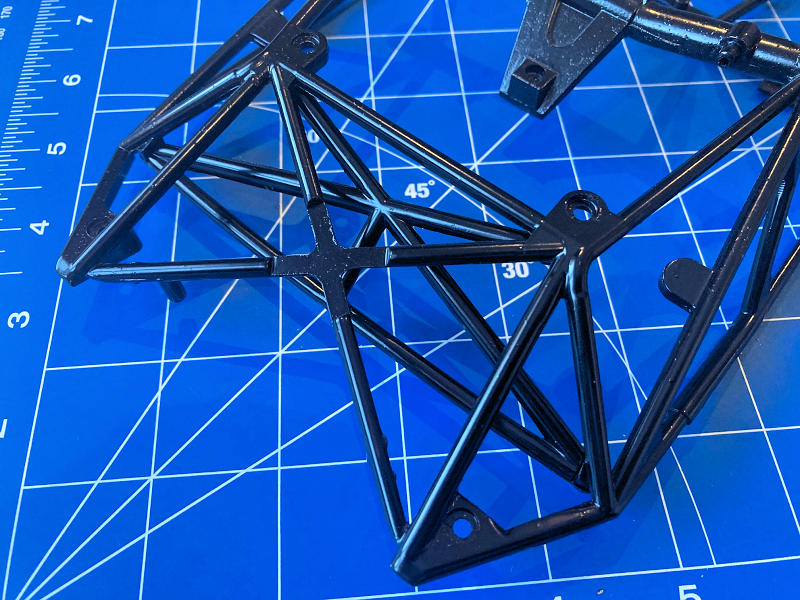
Assembling the tubular frame does require a little finesse and strength, but if you stay determined, you’ll manage through. Both left and right sides are basically the same, with the exception of the fuel filter installation as noted above.
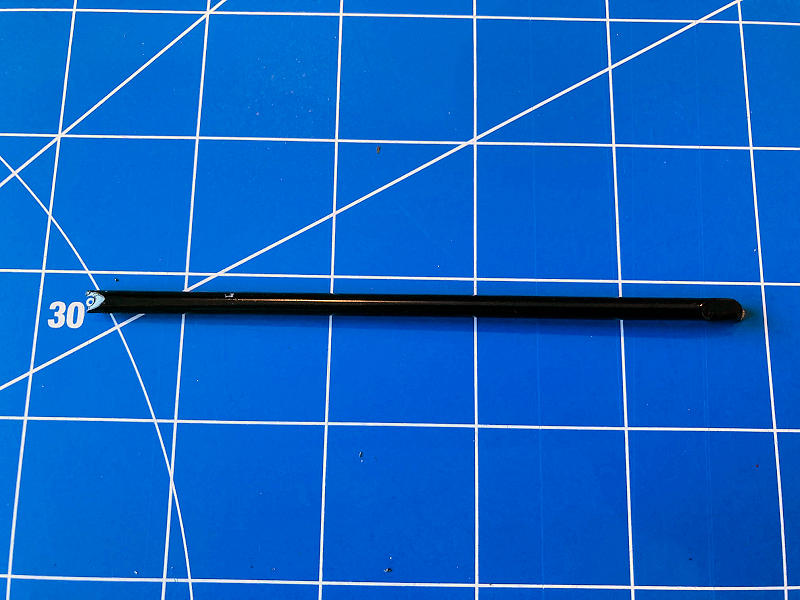
A broken fuel line is shown below :(
TIP: Install the underside series of screws first!
Once the left frame assembly is ready, it’s time to mount it on the mainframe structure. This is the one complete in guides 3/4. This isn’t easy, and I steered slightly of course from the guide’s direction. Initially, it requires you to mount the outer screws of the left chassis (screw type = EM and FM). I found it easier to jump one step forward and install the under series of screws first – these are closer to the centre of the frame. Since they are almost perfectly aligned with the mainframe structure, it was more natural to hold them in place. Once this is complete, and with strength in hand, you need to finesse the upper outer two screws as per step one, as noted above.
At this point, the instruction will ask to install the fuel lines. Like I said, no go. Do install fuel lines before the assembly of the left chassis. It seems on the connector side of the fuel line, the side which attaches to the fuel pump end, which, for the record, I was aware of, will only secure itself one way.
Next, repeat the steps above for the right chassis assembly and install the completed piece to the mainframe structure.
COMPLETE THE CHASSIS
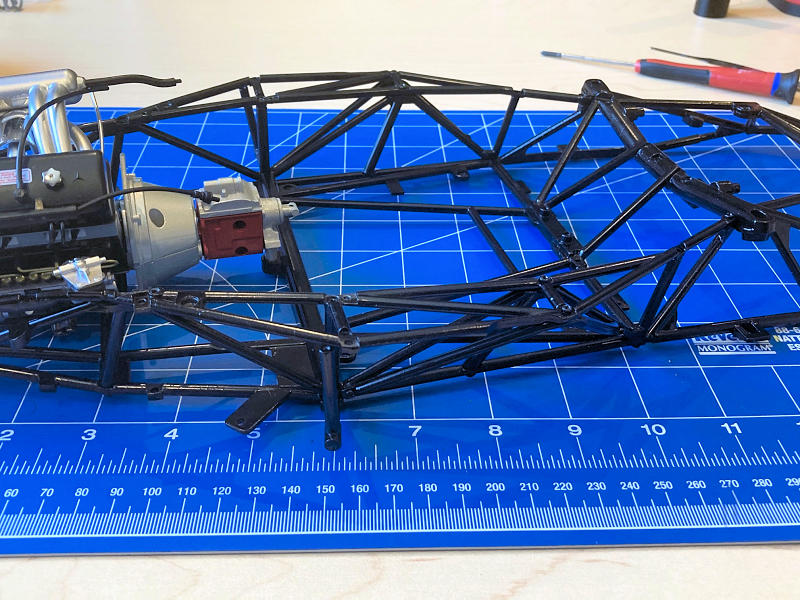
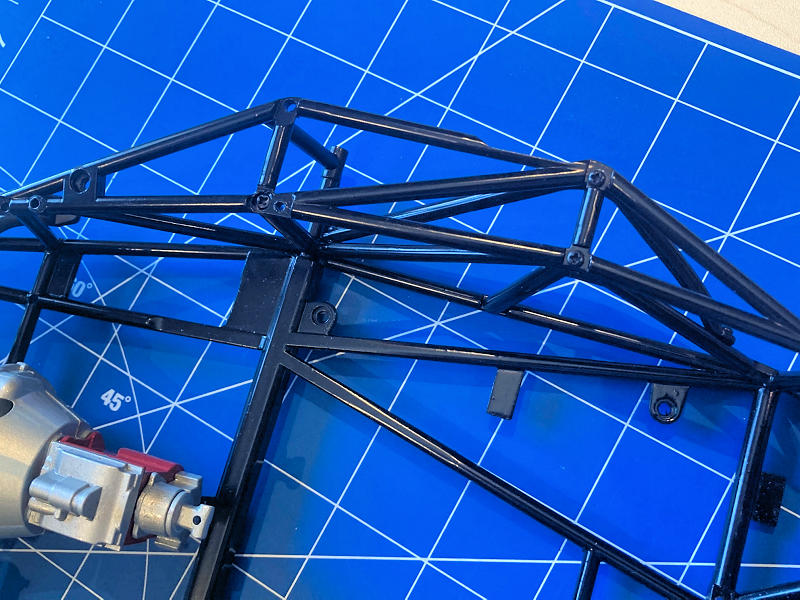
At this point, you are assembling and installing the rear frame structure along with the front bulkhead support. This went smoothly, with one exception: the kit shipped with a somewhat defective bulkhead support strut.
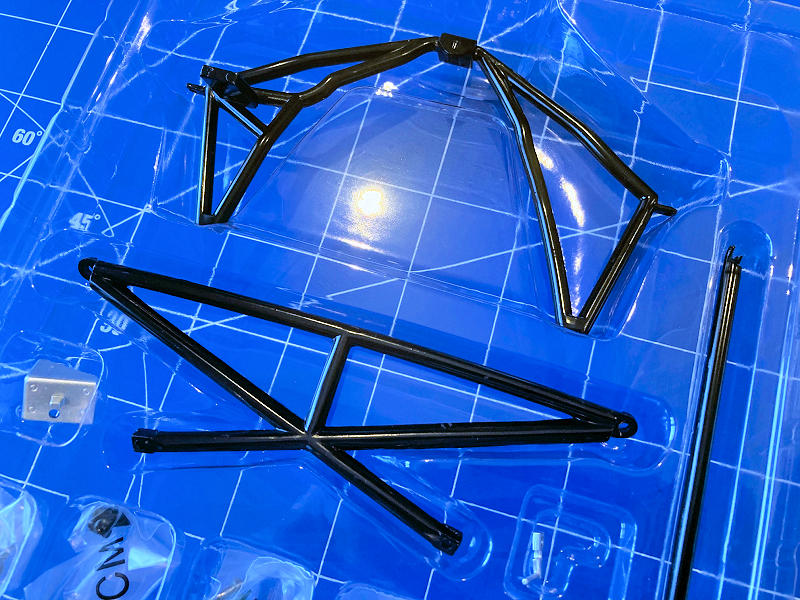
Image of defective bulkhead support strut below. As you can see, the circle-like structure should be whole. Funny enough, I still got the piece to sit and bolt into place. The Eaglemoss team did confirm the part was defective and was kind enough to send a replacement. Love the service!
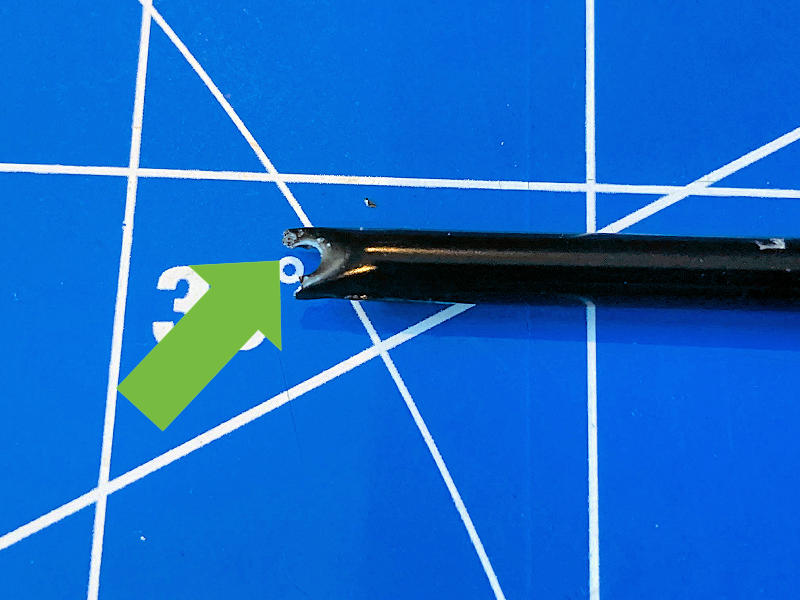
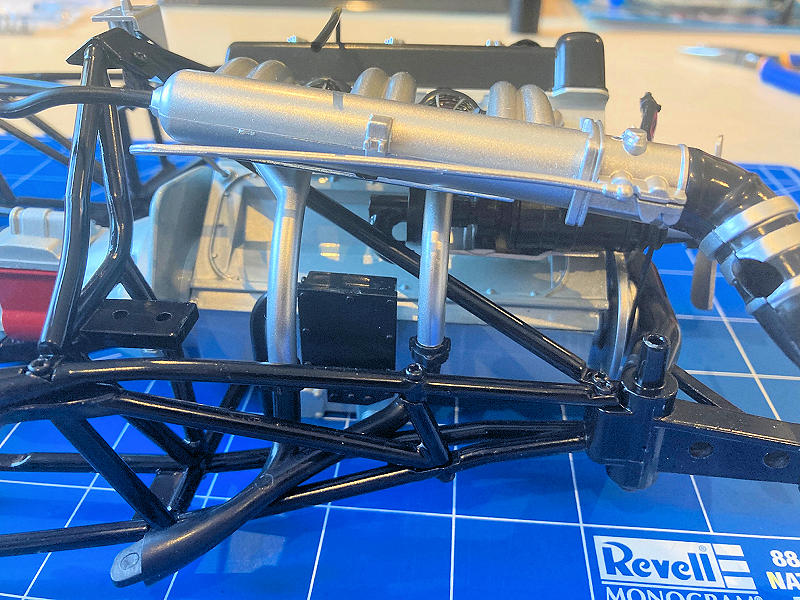
Image of bulkhead support strut installed. The middle structure between intake.
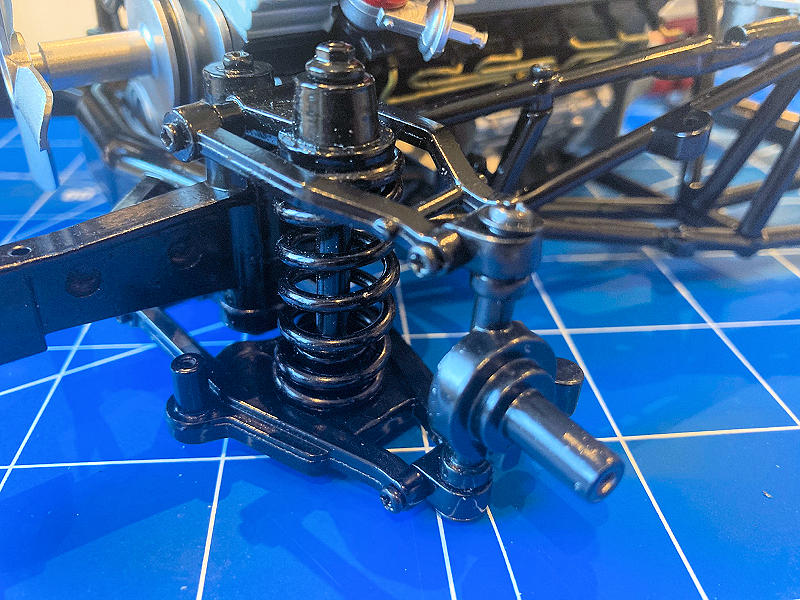
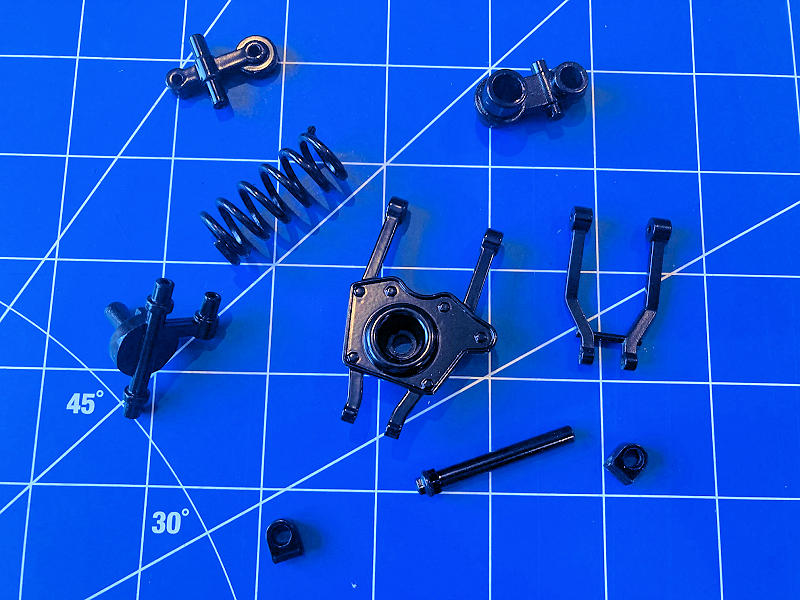
LEFT FRONT SUSPENSION BUILD
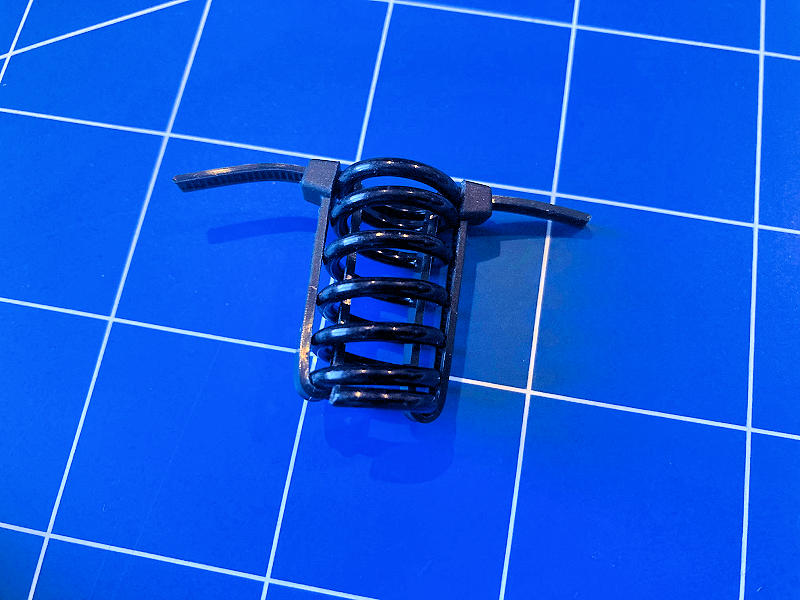
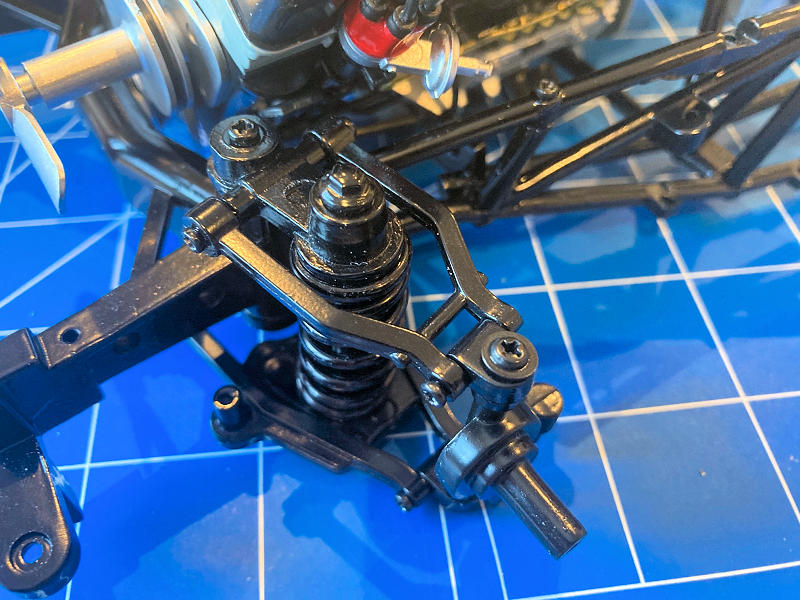
Wow, our first suspension bits! The assembly was a breeze; the only challenge here was compressing the spring to mount the complete assembly in place. My solution: use a couple of mini electrical ties, one on either side – see image below. It will require some patience, but trust me, when you don’t have an extra pair of hands, the solution is gold! Once you have it all buttoned down, cut the ties and remove the access material.

Completed suspension components front left side.
That is pretty much guide #5 in a nutshell. If you have any questions, please use the comments section below. I’ll do my best to answer or get you an answer from the brass at Eaglemoss. Until next time, folks, happy building and happy collecting!

I’m interested to see the size of the screw that secures the wheel to the front spindle assembly; regarding the Delorean, I’m disappointed in the depth of the screw. It doesn’t seem deep enough into the spindle to truly secure the wheel onto the car. As a result the wheels feel “wiggly.”
Unfortunately, I don’t have the guides that reference this for the Delorean, and awaiting the guides/parts for the MB 300 SL build. Did you contact Eaglemoss/Die-cast Club?