

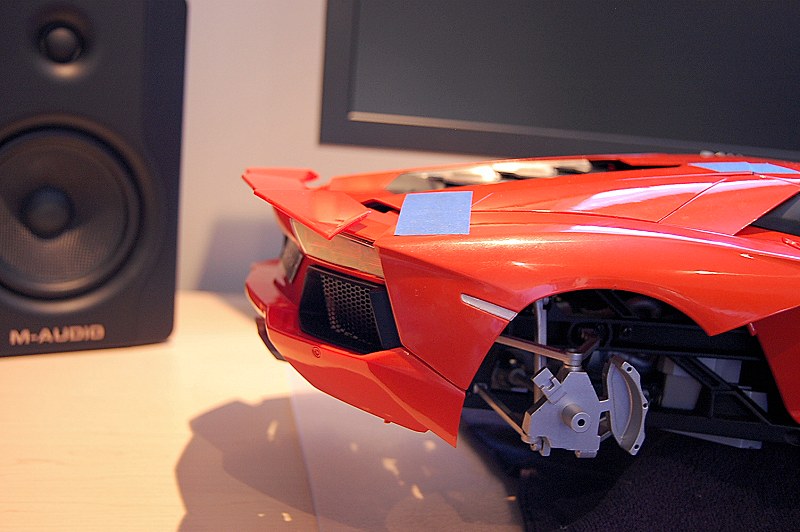
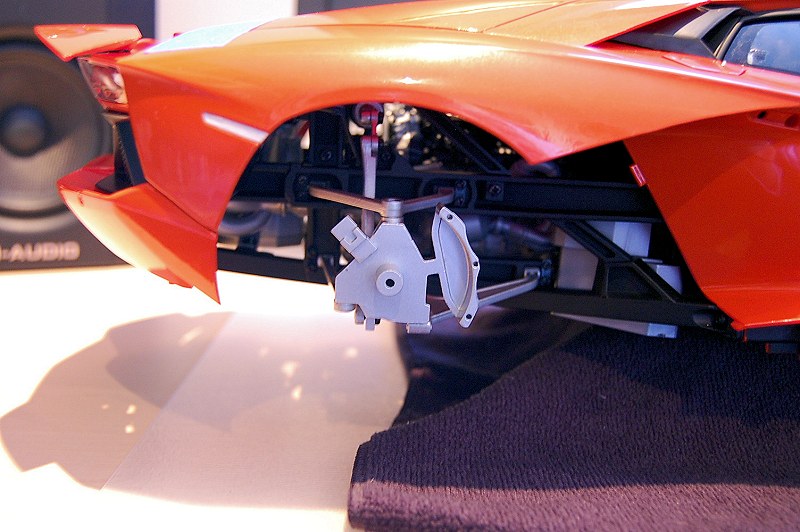
The finish line is almost near! Front and rear body panels have been connected to the framework. Everything went pretty much smoothly, but I’ve noted some issues below.

When installing the rear section to the frame, don’t try to install the entire piece after completing page #28. I tried for 15-20 minutes to install without success; the roadblock was the intakes just behind the rear quarter windows. My solution is to remove both intakes, one from either side. Install the rear section, then reinstall the intakes. Ta-da!

Caution on the rear hatch door. The paint is very thin around the edges; I noticed some paint has been removed. Pocher doesn’t provide touch-up paint in the kit; I wish they did. I’ll source something in orange soon enough. Panel gaps are acceptable once in a closed position. The open/close function works great as well, as does the rear functioning spoiler.

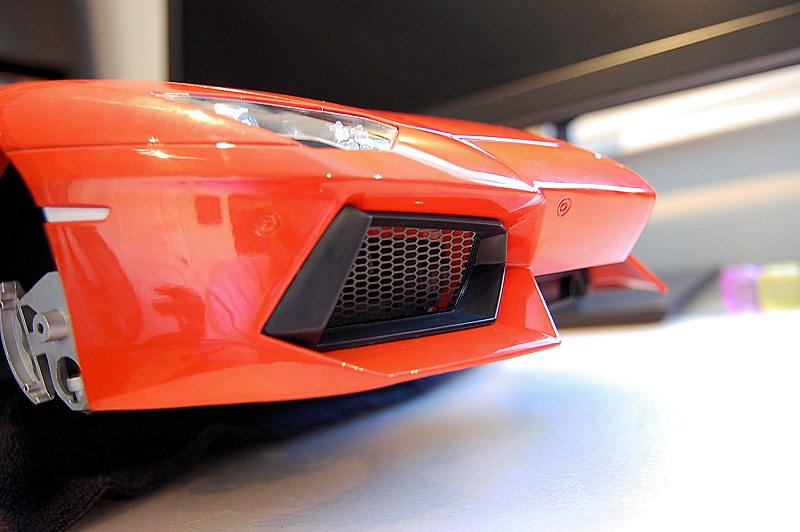
Them bloody metal decals! Again, I screwed up the rear Lamborghini logo on the bumper. Set it on a slight angl,e and the decal wasn’t forgiving when I tried to align. So I removed it. I’ll source another through Pocher or online in good time. Does anyone have the secret to metal decal install success?

The next update will most likely bring the finished product. I estimate a good 40 hours of work to date – 10 days on average, 4 hours per day. Tune in to DiecastSociety.com for more updates on the Pocher Project real soon. Part six to come…
For more information on this kit, please contact Pocher here:
Website: www.Pocher.com
Email: pocher [at] hornbyinternational [dot] com
Could you run a line of masking off tape below the level of the metal lettering, so get that straight, then use the thin edge of the tape as a edge and place the lettering down.
Sounds like a plan. My lack of experience with WD/MD is sure showing here :)
DS…what ever you do in modelling, there is a golden rule: before start to do something think twice, never hurry up in asembling…take your time!
Definitely words to live by. Yes my inexperience in model building has surfaced on a few occasions but I think I’ve but in the time and patience to most of it right…
To fit the metal decals heat them in very hot water first, softens the glue, then place. The soft glue allows some movement, then cools and sets in place!
Thank you sir.
Hi, I use a scalpel to guide the placement of the metal decals. I put the tip of the decal on the side and guide it in place with the knife. I can send pictures if you like?
Unfortunately the steering rod was missing and it is to cold outside to spray paint so I am on delay right now. Can’t wait to get started again! I also had a problem with the seat belt buckle. When I slid it on, it stood up because it weighs so little. I super glued it down, and now the superglue is showing through the other side of the seat belt. Do you know how to remove the whitish colored super glue without damaging the seat belt? Thanks!
Thanks for the offer but I think I have a better understanding for the decals today.
Sorry to hear the cold weather is slowing down the build. I did not have the issue with the belt-buckle as you have. Try some nail polish remover. But first try in an inconspicuous spot first!!! Good luck.
Hi,
Does anyone have a solution to keep the doors closed, mine will not stay closed?
Thanks,
Alex