

Well, I found a few hours yesterday to start the Pocher Aventador build. The first step is to download the revised assembly manual found on Pocher’s website. The second step is to familiarize yourself with the various icons and warnings throughout the assembly manual.
TIP – I highlighted any step that required special attention or application of glue, just to make sure I didn’t miss a key step.
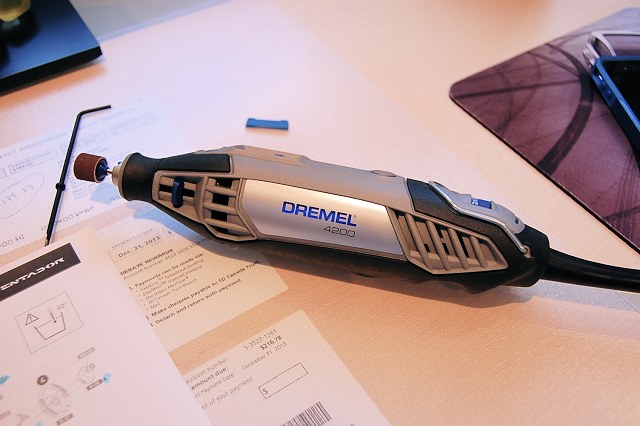
Some items/tools that helped me with the build so far include the trusty Dremel 4200 with a fine sanding accessory. This allowed me to clean any small debris left on the part after it was it was removed from the shipping grid.
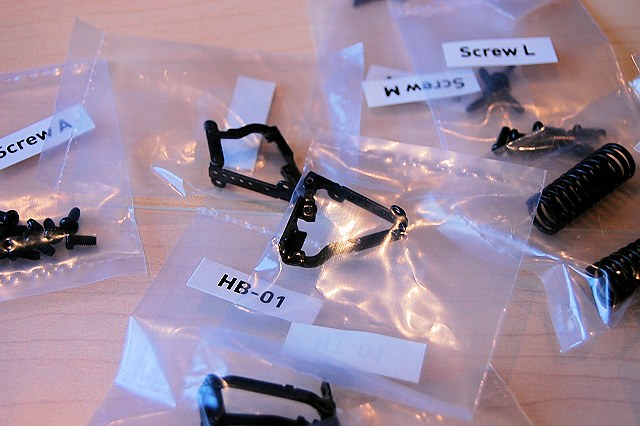
Side cutters, flat cutters and your trusty screwdriver. All these items are relatively cheap and can be purchased at the local hobby store or hardware store.

And finally Micro brushes. This will allow you to pinpoint where you place the glue for various bits of the build. Again, 10 pieces for less than $3. Highly recommended!

So what I’ve completed so far includes the seats, centre console and upper dash. Word to the wise, snap the seats into place before you add the outer rubber seat covers. This step proved challenging on my part, but I finally managed to snap both seats into place. What is a cool feature here is that the seats are adjustable front to back with quite a good amount of travel.
Pocher allows the end-user to choose the left or right-hand drive. Since I’m from Canada, I went with a left-hand drive. The kit includes two dash options.
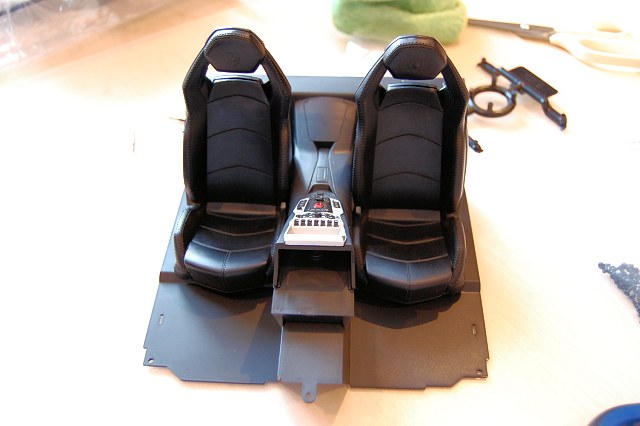
The next step is to add some water and metal decals on the dash and centre cluster. Just educating myself on these bits before I attempt the install. Baby steps…
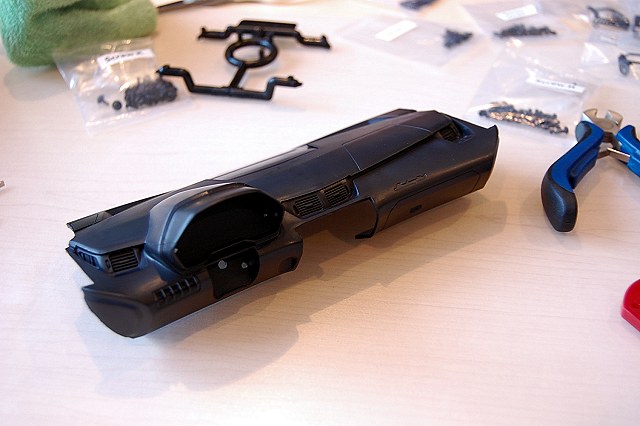
I’ve included some photos of the inner working parts of the model before. Quite impressive to say the least. I can’t wait to get down to the meat and potatoes of the build!

Well, that’s all for now, folks. Tune in to DiecastSociety.com for more updates on the Pocher Project real soon. Part three to come…
For more information on this kit, please contact Pocher here:
Website: www.Pocher.com
Email: pocher [at] hornbyinternational [dot] com
Very nicely explained and you’re doing a great job.
Need info / help on!!! POCHER 1:8 Lamborgini Aventador…
Where is the S-17 in the KIT…
the car seat buckle… shows in page 4 of the manual… thanks!
It should be located on the grid of “S” parts. Sorry I don’t have a secondary reference grid to confirm. If you don’t see it it may be a missed grid during manufacturing process. Contact Pocher for replacement parts – contact info above.
Hello just wondering if you used a 2.6MM tap for the build I have read that the holes in the cast parts do not have any threads in them. True or not?
Thanks in advance.
No I did not. The only real problem I have was in some cases (suspension related) the screw were too long. I subbed shorter one and all was fine. Pocher was excellent with customer service as they mailed me extra screws and a few pieces I messed up on :)
LAMBORGHINI AVENTADOR POCHER LP-700-4
ASSEMBLY – STEP 36
ONE DOOR IS NOT FEETING PROPERLY AND SPACE CLOSING FROM THE BODY. HOW TO ADJUST TO CLOSE ON THE RIHT POSITION.
REGARDS