

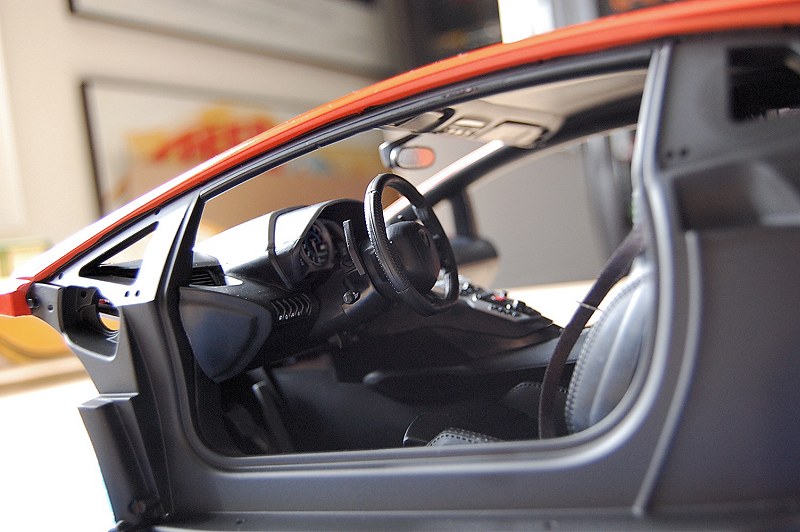
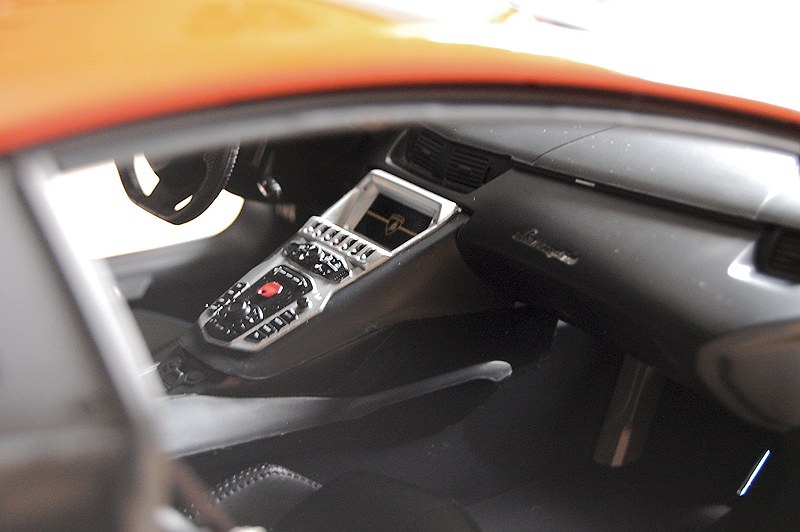
Well, some progress has been made since the last update. I pretty much completed the interior of the Aventator. No real challenges to speak of other than I would caution those in the beginning stages to be careful when mounting the dash into the main framework. I accidentally touched the water decals on the left side of the dash – small series of button indicators to the left of the steering wheel. These decals are very small, a millimeter in diameter. The second decal I managed to find and secure once again. Hopefully I can convince Pocher to send me another set. Also don’t forget to give the interior a nice wipe down with a damp cloth to remove any finger prints or debris. Be careful not to touch the water decals!
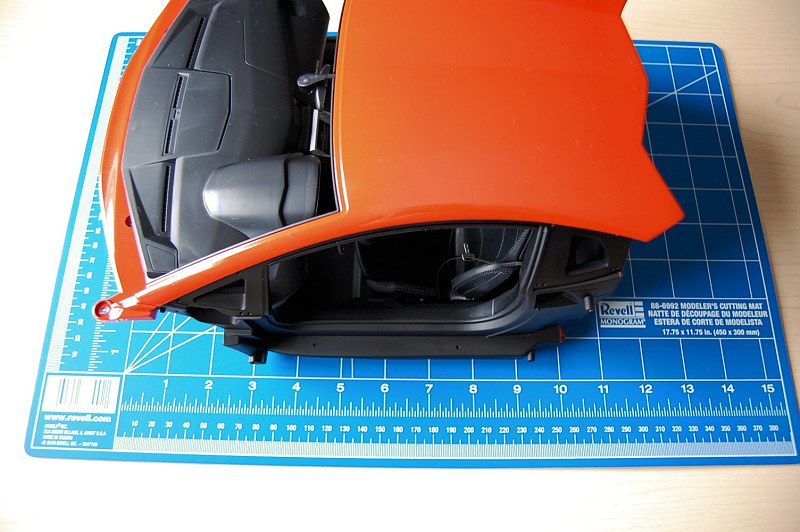
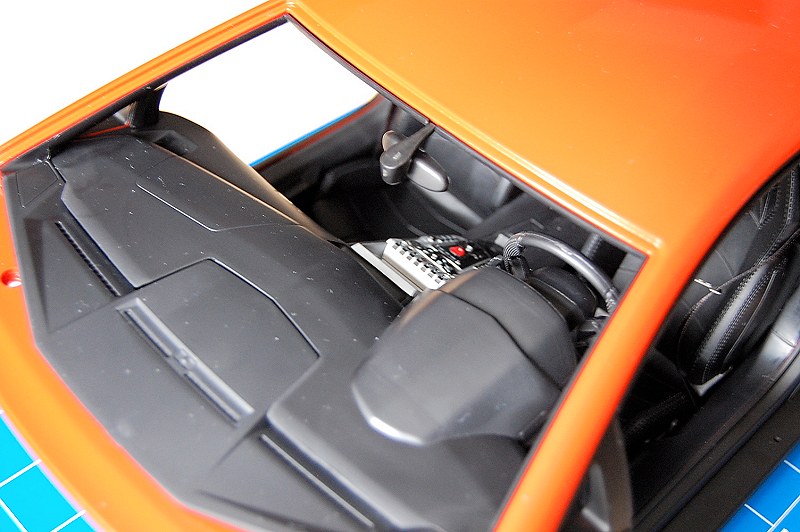
To get you some perspective on the scale of this monster, I placed the competed section on a Revell cutting mat, from front to back the piece is about 12 inches long! Quite substantial and quite heavy too.
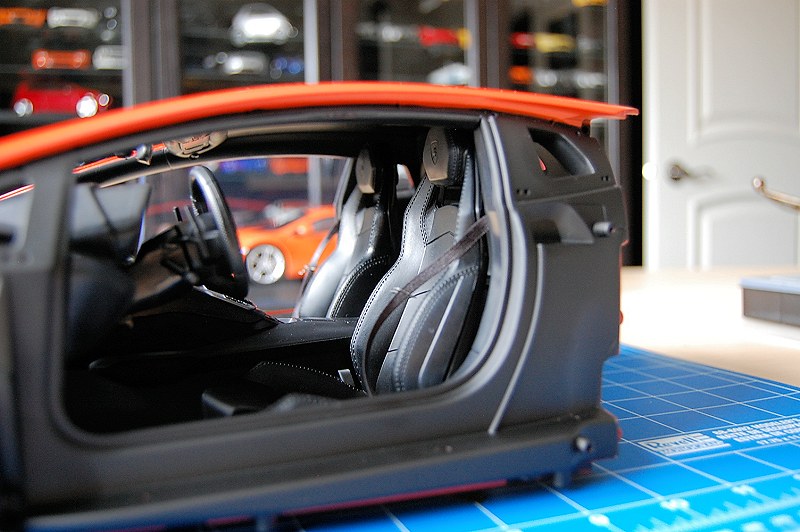
The interior floor is not carpeted but I do see pieces of fabric in the kit that seem to mimic floor mats. Note the seat-belts with metal buckles. Nice touch.
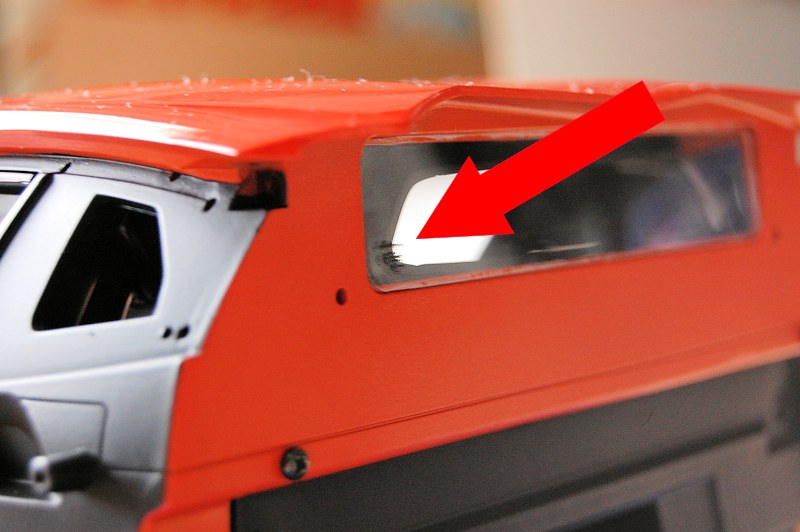
Pocher goes as far as adding water decals that mimic the original Lamborghini factory glass marking. Now that is attention to detail!
I’m currently working on the heart of the beast. The motor is proving a bit more challenging than the cockpit. Tune into DiecastSociety.com for more updates on the Pocher Project real soon. Part four to come…
For more information on this kit, please contact Pocher here:
Website: www.Pocher.com
Email: pocher [at] hornbyinternational [dot] com
Hey,was that kit easy to built???
Overall, YES!